
From Canvas to Coastline: My First Mural
Early on in the summer of 2020, I was commissioned to paint a 4’ x 8’ mural. And as someone who’s never painted on a canvas larger than 16” x 20”, I was both ecstatic and nervous. Stepping into the realm of mural painting has always been a goal of mine. I just can’t help thinking how cool it would be to have my art stand out on the side of a building, wall or large space out in the world. So in addition to creating a wonderful piece of art, I saw this as an opportunity to “get my feet wet” in the logistics of mural painting as they say.
I began the creative process by asking my clients what specific features they would like included on their mural and wrote everything down. After our initial meeting, I took a large sheet of drawing paper and roughly sketched out my idea.

I sent this to my clients and let them take a couple of days to look at my sketch and decide what they would like added or taken out. After our second meeting, i had a clearer picture of what they were after and drafted another version, this time on my iPad so I could include color and easily make further edits if needed. Thankfully, the digital version was a hit and I had the green light to get started on the actual mural.

As part of our agreement, my client purchased the exact board I used and sealed the edges. Once it was given to me, I enlisted my brother-in-law to help me reinforce the back of the board by placing four additional pieces of wood on the back and screwing them in. Since this mural will be living outside, I wanted to make sure the chances of this board warping over time were slim to none. After securing the additional boards, filled and sanded down the holes caused by the screws and began priming the entire board. In addition to protecting the wood from outside forces such as rain, dust and sunlight, the primer also helps create a barrier between the wood and paint you’ll be using. Sometimes painting straight onto wood causes a lot of paint to be waisted as it absorbs into the wood.
After my board was nice and primed, it was time for the paint. I spent a lot of time researching which paint to use, as this mural was outside I wanted to make sure that the paint would last a long time. I came to the conclusion that any acrylic paint would do the job, the most important material to protect my painting would be the varnish. So I went off to Michael’s and picked up five bottles of paint, consisting of the three primary colors in addition to black and white. I then began mixing my own colors and plopping them into smaller mason jars which I’d also picked up from Michael's. I wanted to make sure the colors in my mural were cohesive, so I made my own. All in all I created unique colors: tan, grey, red, green, orange, dark blue and a light blue. Since this mural is going to incorporate a beach theme, blue was the color I was going to use the most.

So after my board was primed and colors were mixed, I was ready to go. I’m not going to lie, staring at that blank board was intimidating, but I knew that if I took it once step at a time it would slowly come together. So I started with the rule of thirds and roughly decided where my horizon line would be and where I would place the larger objects in my painting. It usually takes several coats of paint to get down a solid layer, so I had to repeat this process 2-3 times for the base.

Next, I went back to my original drawing and set up a grid. I then scaled up those dimensions and chalked out a grid onto my mural. This is something they teach you early on in school and is honestly so helpful for making sure your proportions are accurate, especially when painting on something so large.

I then slowly began adding details, beginning with the pattern of the waves. The great thing about this project is I was able to take my time and bounce around different parts of the mural simultaneously. This was about the stage where my motivation dipped significantly. The middle stage of the painting is a weird place where you know you’re making progress but nothing looks quite right. I’m very grateful that I had the ability to take a day or two to step away from the mural. Looking at the mural with fresh eyes, I felt more confident in my ability to complete the project in the way I’d intended. For about two weeks I just kept adding little bits and bobs around the mural until it slowly started to come together and look like a real beach scene!

One of the last objects I added to the mural were the two surfers and paddle boarder on the lefthand side. Honestly, I don’t consider realistic painting my strong suit so the idea of painting people (and faces) really intimidated me. I began by trusting my grid and blocking out their general shapes in white paint. Once that paint was dry, I went in with my major colors and starting adding some detail.

Final details to the whole mural included adding highlights to the waves and adding more white paint where the water meets the sand. My clients really wanted an active ocean and I think I delivered! On an impulse, I took an old toothbrush, dipped it in white paint, and brushed my thumb along the bristles to create a scattered look. The only other time I’ve used this technique was to paint a night sky full of stars, but it turns out it works really well for crashing waves!

The last step for this mural was to outline everything, add shading to the clouds and add birds to the sky! The thing about painting is, no one tells you when you’re done. There is no definite “stopping point”, so I took a few days to periodically stare at my mural to make sure I was happy with the result.

After convincing myself that it was complete, I laid it flat onto my garage floor. I took a slightly damp towel and cleaned off all visibly remaining chalk marks. I’d originally bought an acrylic varnish to seal the paint, but was nervous to spread it over my entire canvas in fear that it would smear some of the outlining I did. The varnish specifically stated it was not to be used with oil paint and I’d used a sharpie pen to outline, which you guessed it, is oil based. Because I was wary of this, I purchased an isolation coat to use on top of the painting, before adding the varnish. This fully protected my painting from any outside elements and created a barrier between the sharpie and varnish. I also did this so that at any point in the future if my mural needed to be revarnished, the old varnish could be taken off without any risk of removing the paint. So after two coats of isolation coat and two coats of varnish, she was complete!
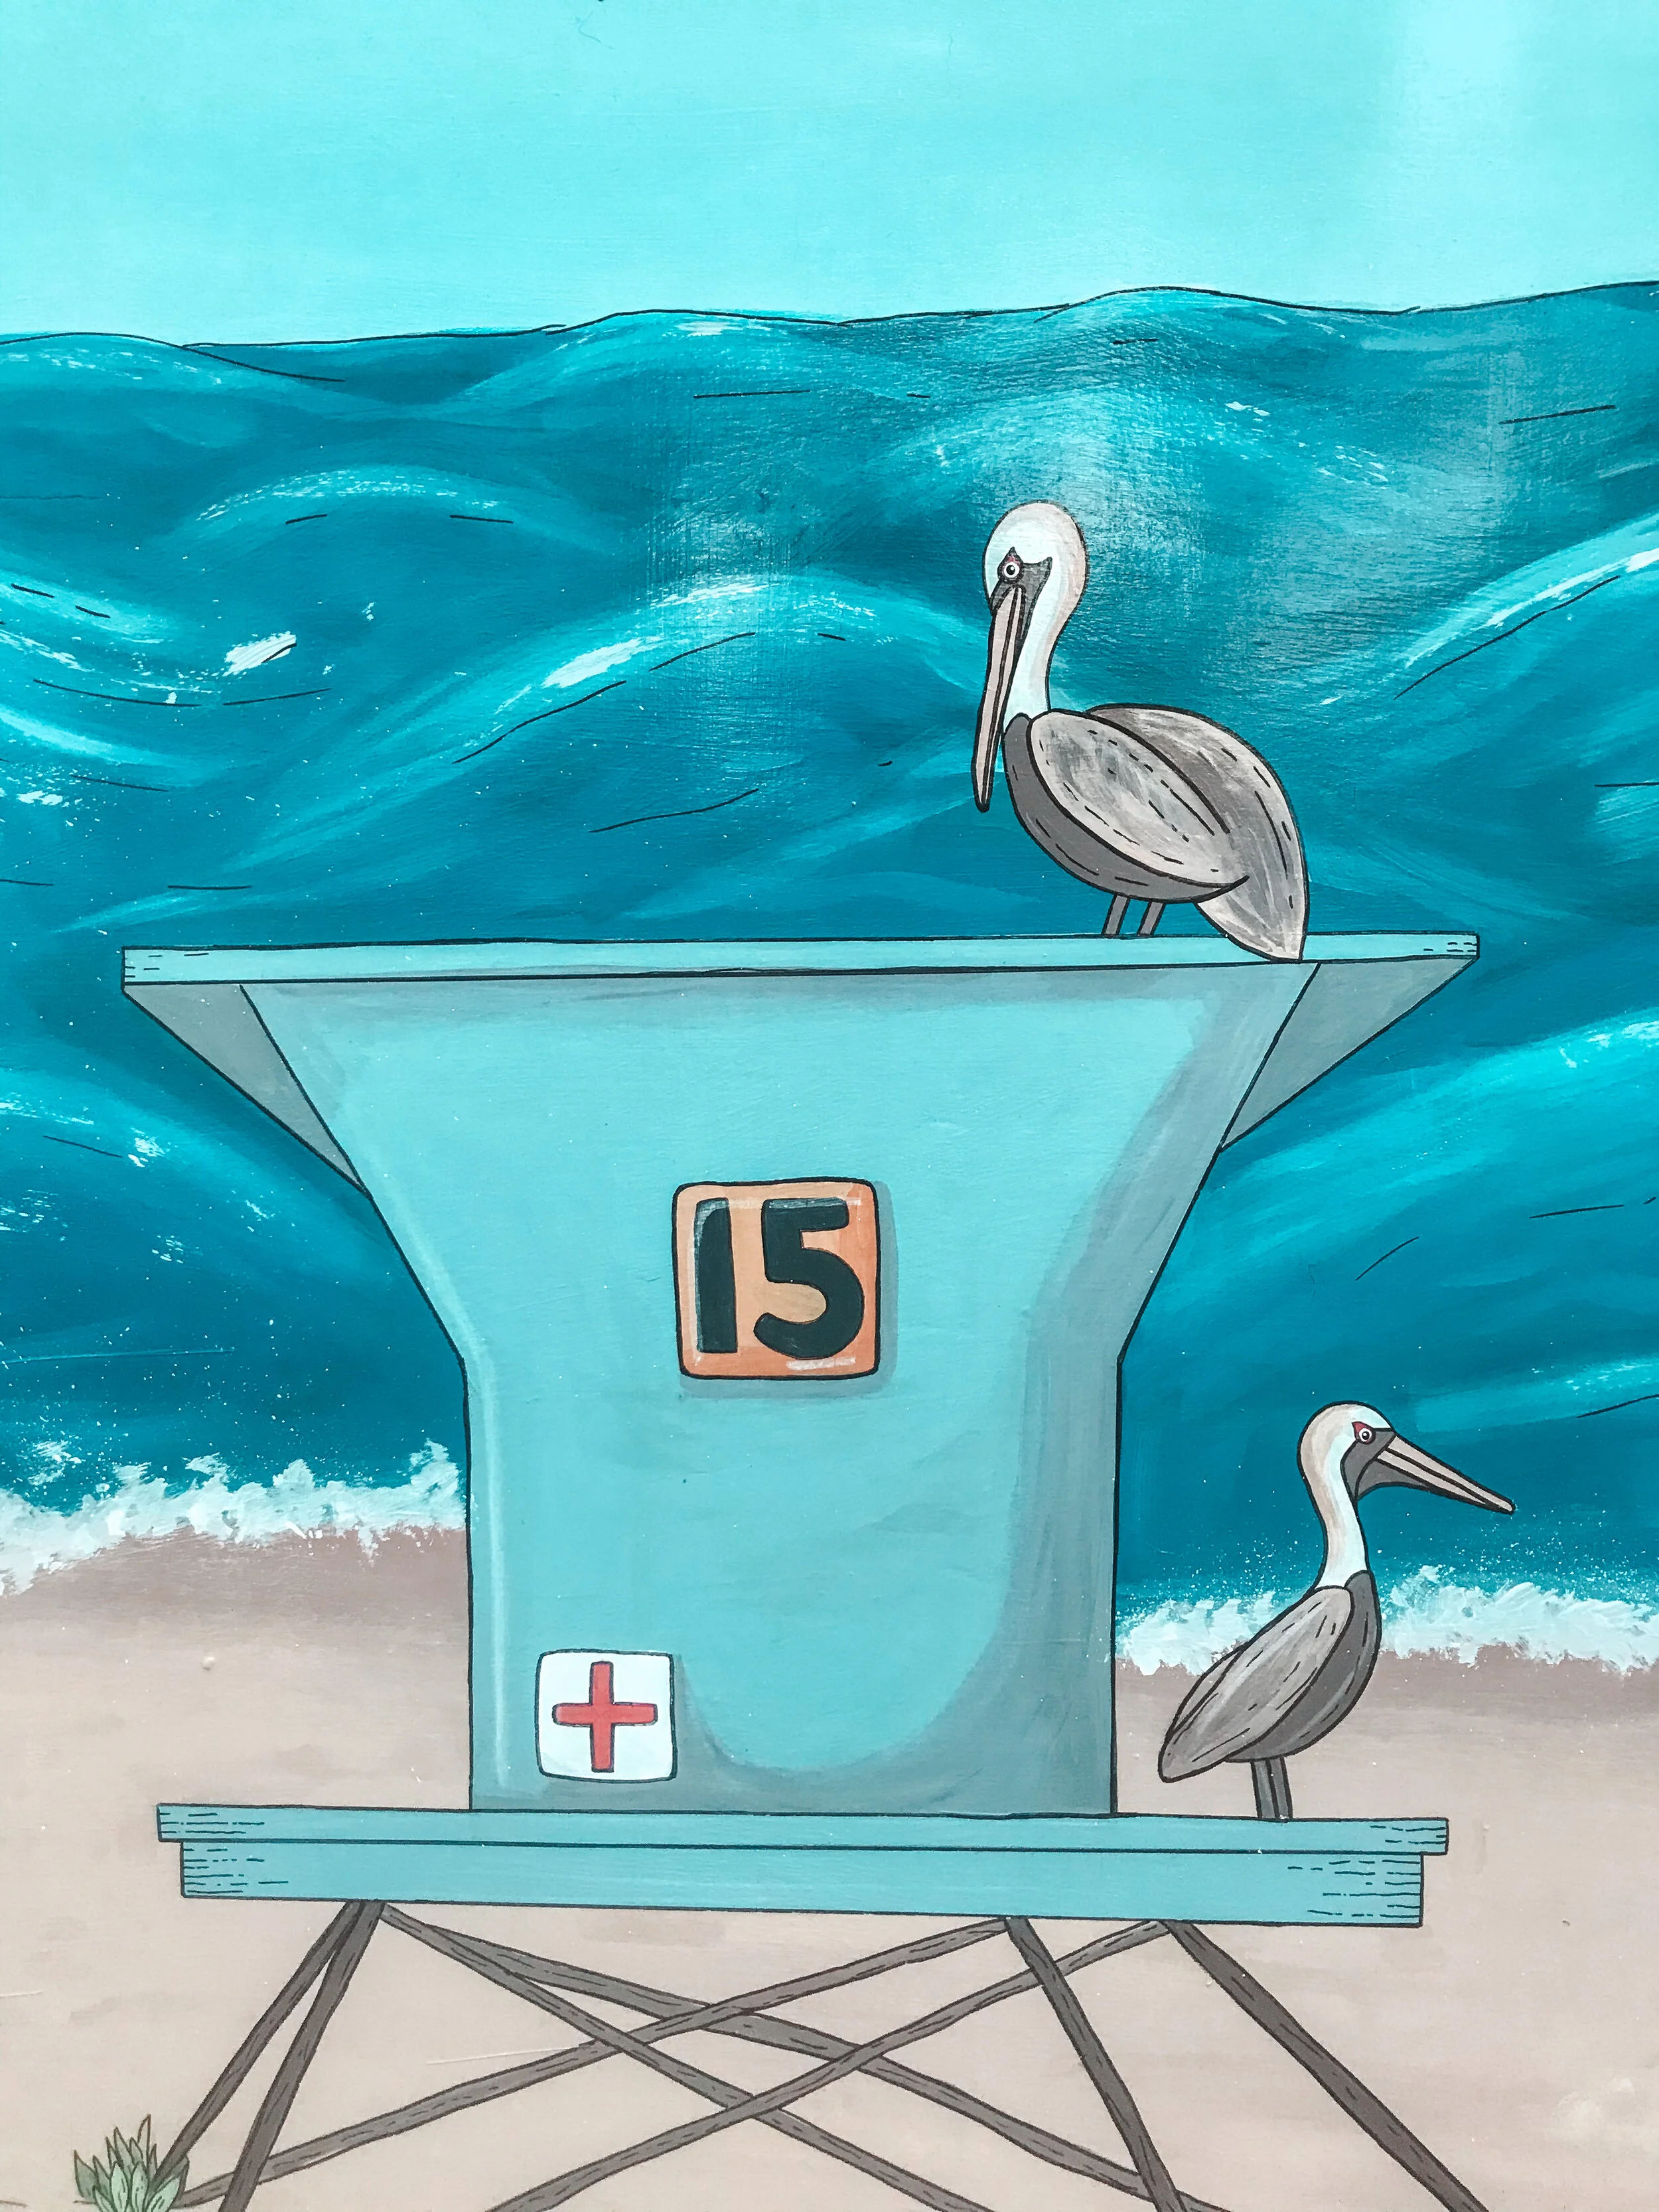
This mural is full of so many fun, personal details. The 15 on the lifeguard tower represents the day on which my clients got married and the direction signs on the lower right-hand corner are all places they’ve lived or consider special. It was such a joy to see my mural on display in their backyard once it was installed. They went above and beyond to make sure the elements surround the mural also enforced beach vibes.


Overall, I’m very pleased with my beach mural. I think this was the perfect project to get me started on my mural journey and I hope to take on more projects like this in the near future. All I have to say at this point is, if you’re looking for an artist for your next mural, I’m your girl.
