
How to Paint a Layered Mural in 10 Easy Steps
Are you looking to create a stunning and unique nursery mural that will captivate your little one's imagination?
Congrats, you’re in the right place!
Not only does a layered mural create the illusion of depth and texture, it's also surprisingly simple to achieve. In this guide, I’ll walk you through the process of creating a layered nursery mural in your own space in just 10 easy steps. There will also be a free supply list available at the bottom of this post for you to download and reference for your own mural project. Now let’s get to painting!

Inspired by locations relevant to my client: the beach, desert, lakeside, place they got married, and San Diego skyline.

Inspired by my client’s favorite fantasy stories: Lord of the Rings, Harry Potter, and Star Wars
how to paint a layered mural in 10 easy steps
1. Develop a Concept
Start by brainstorming ideas for your mural. Consider the theme, colors, and imagery that would best suit your nursery. Look for inspiration online, in magazines, or even in children's books. This can range from personal locations to fantasy stories and whimsical references. If you think you’ll need to trace any specific imagery, save these images to your computer so you can utilize them during step 8.
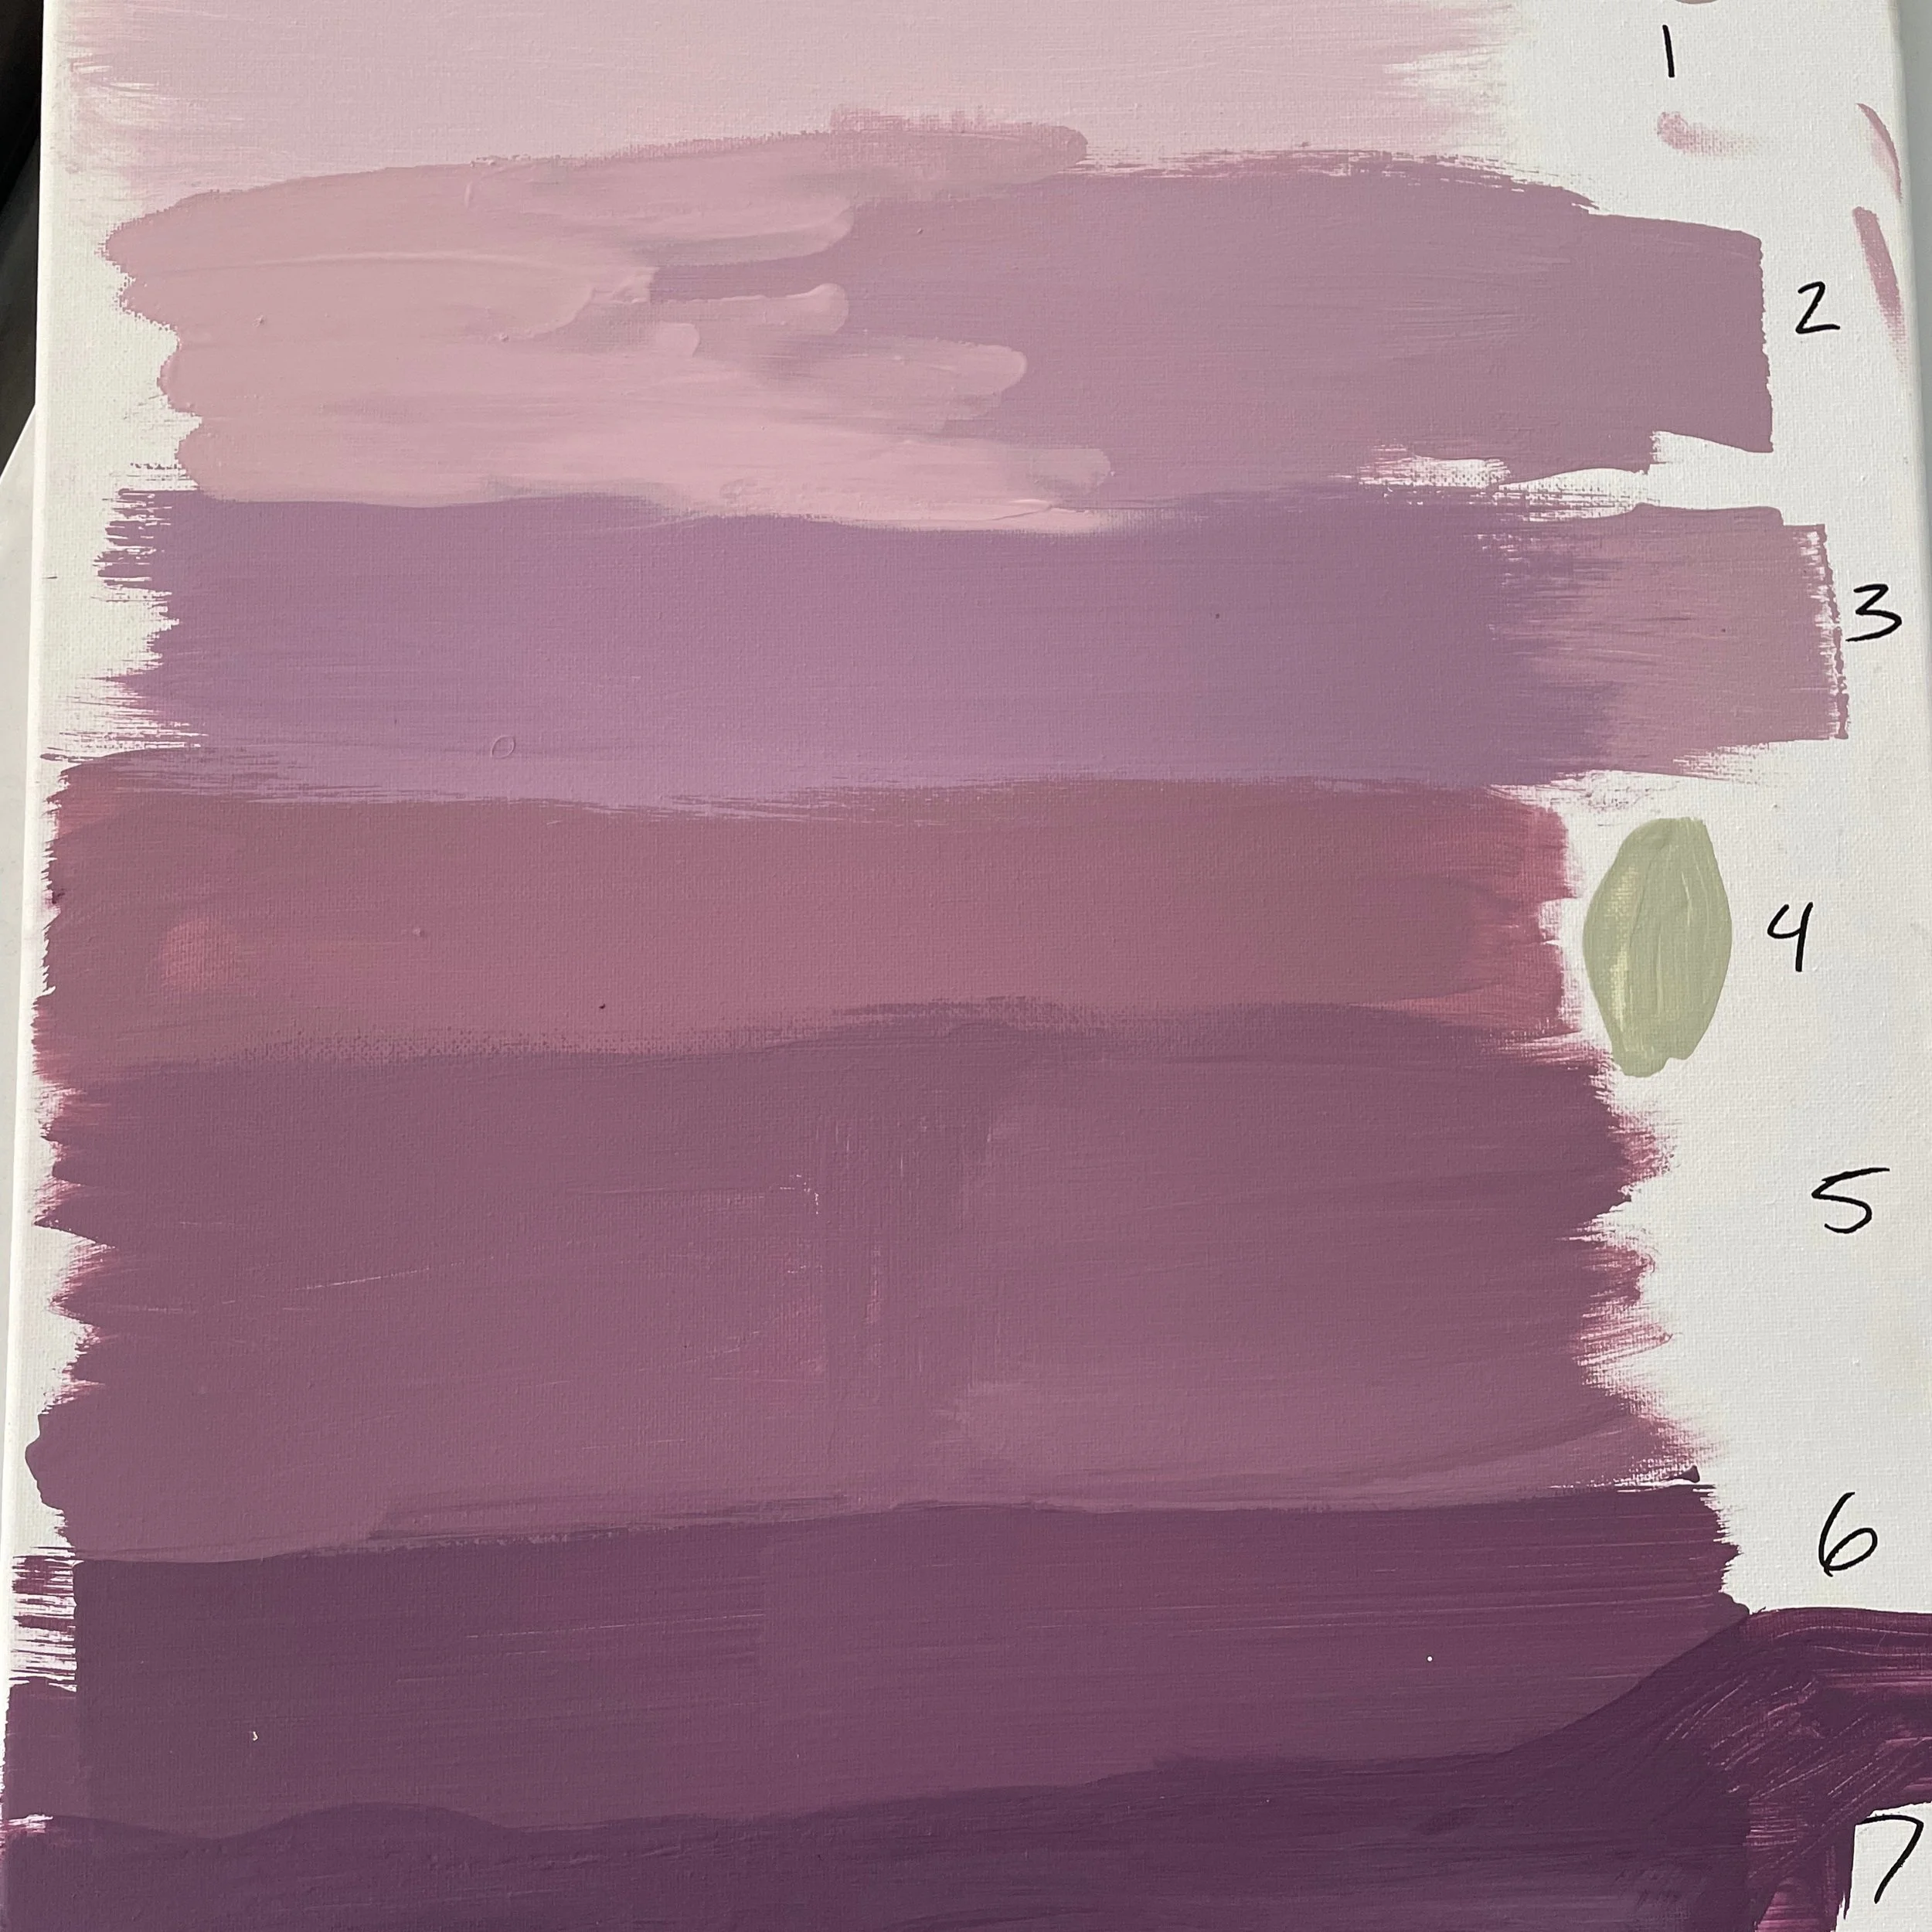
2. Decide on Colors and Layers
Choose a color gradient that fits your nursery's aesthetic. Remember, the more layers you add, the more difficult it will be to paint. Consider your skill level and the time you have available to complete this project. Don't be afraid to start with a simple gradient and add in more details later.

3. Find a Wall or Surface
Identify a suitable wall or surface in your nursery where you want to paint the mural. Ensure the chosen wall is clean, smooth, and properly prepared for painting. Depending on the original color of your wall you may need to prime it first, although I have found that Behr Paint & Primer does a great job of covering anything in one coat.
4. Make a Digital Mockup
To get a better idea of how your mural will look in the space, use photo-editing software or a simple drawing app on your tablet/smartphone to create a digital mockup. This will allow you to visualize your concept and make any necessary adjustments before you start painting. Alternatively, you can create a collage or a combination of paper references to gather an idea of your intended design. Don’t be afraid to sketch it out the old-fashioned way!


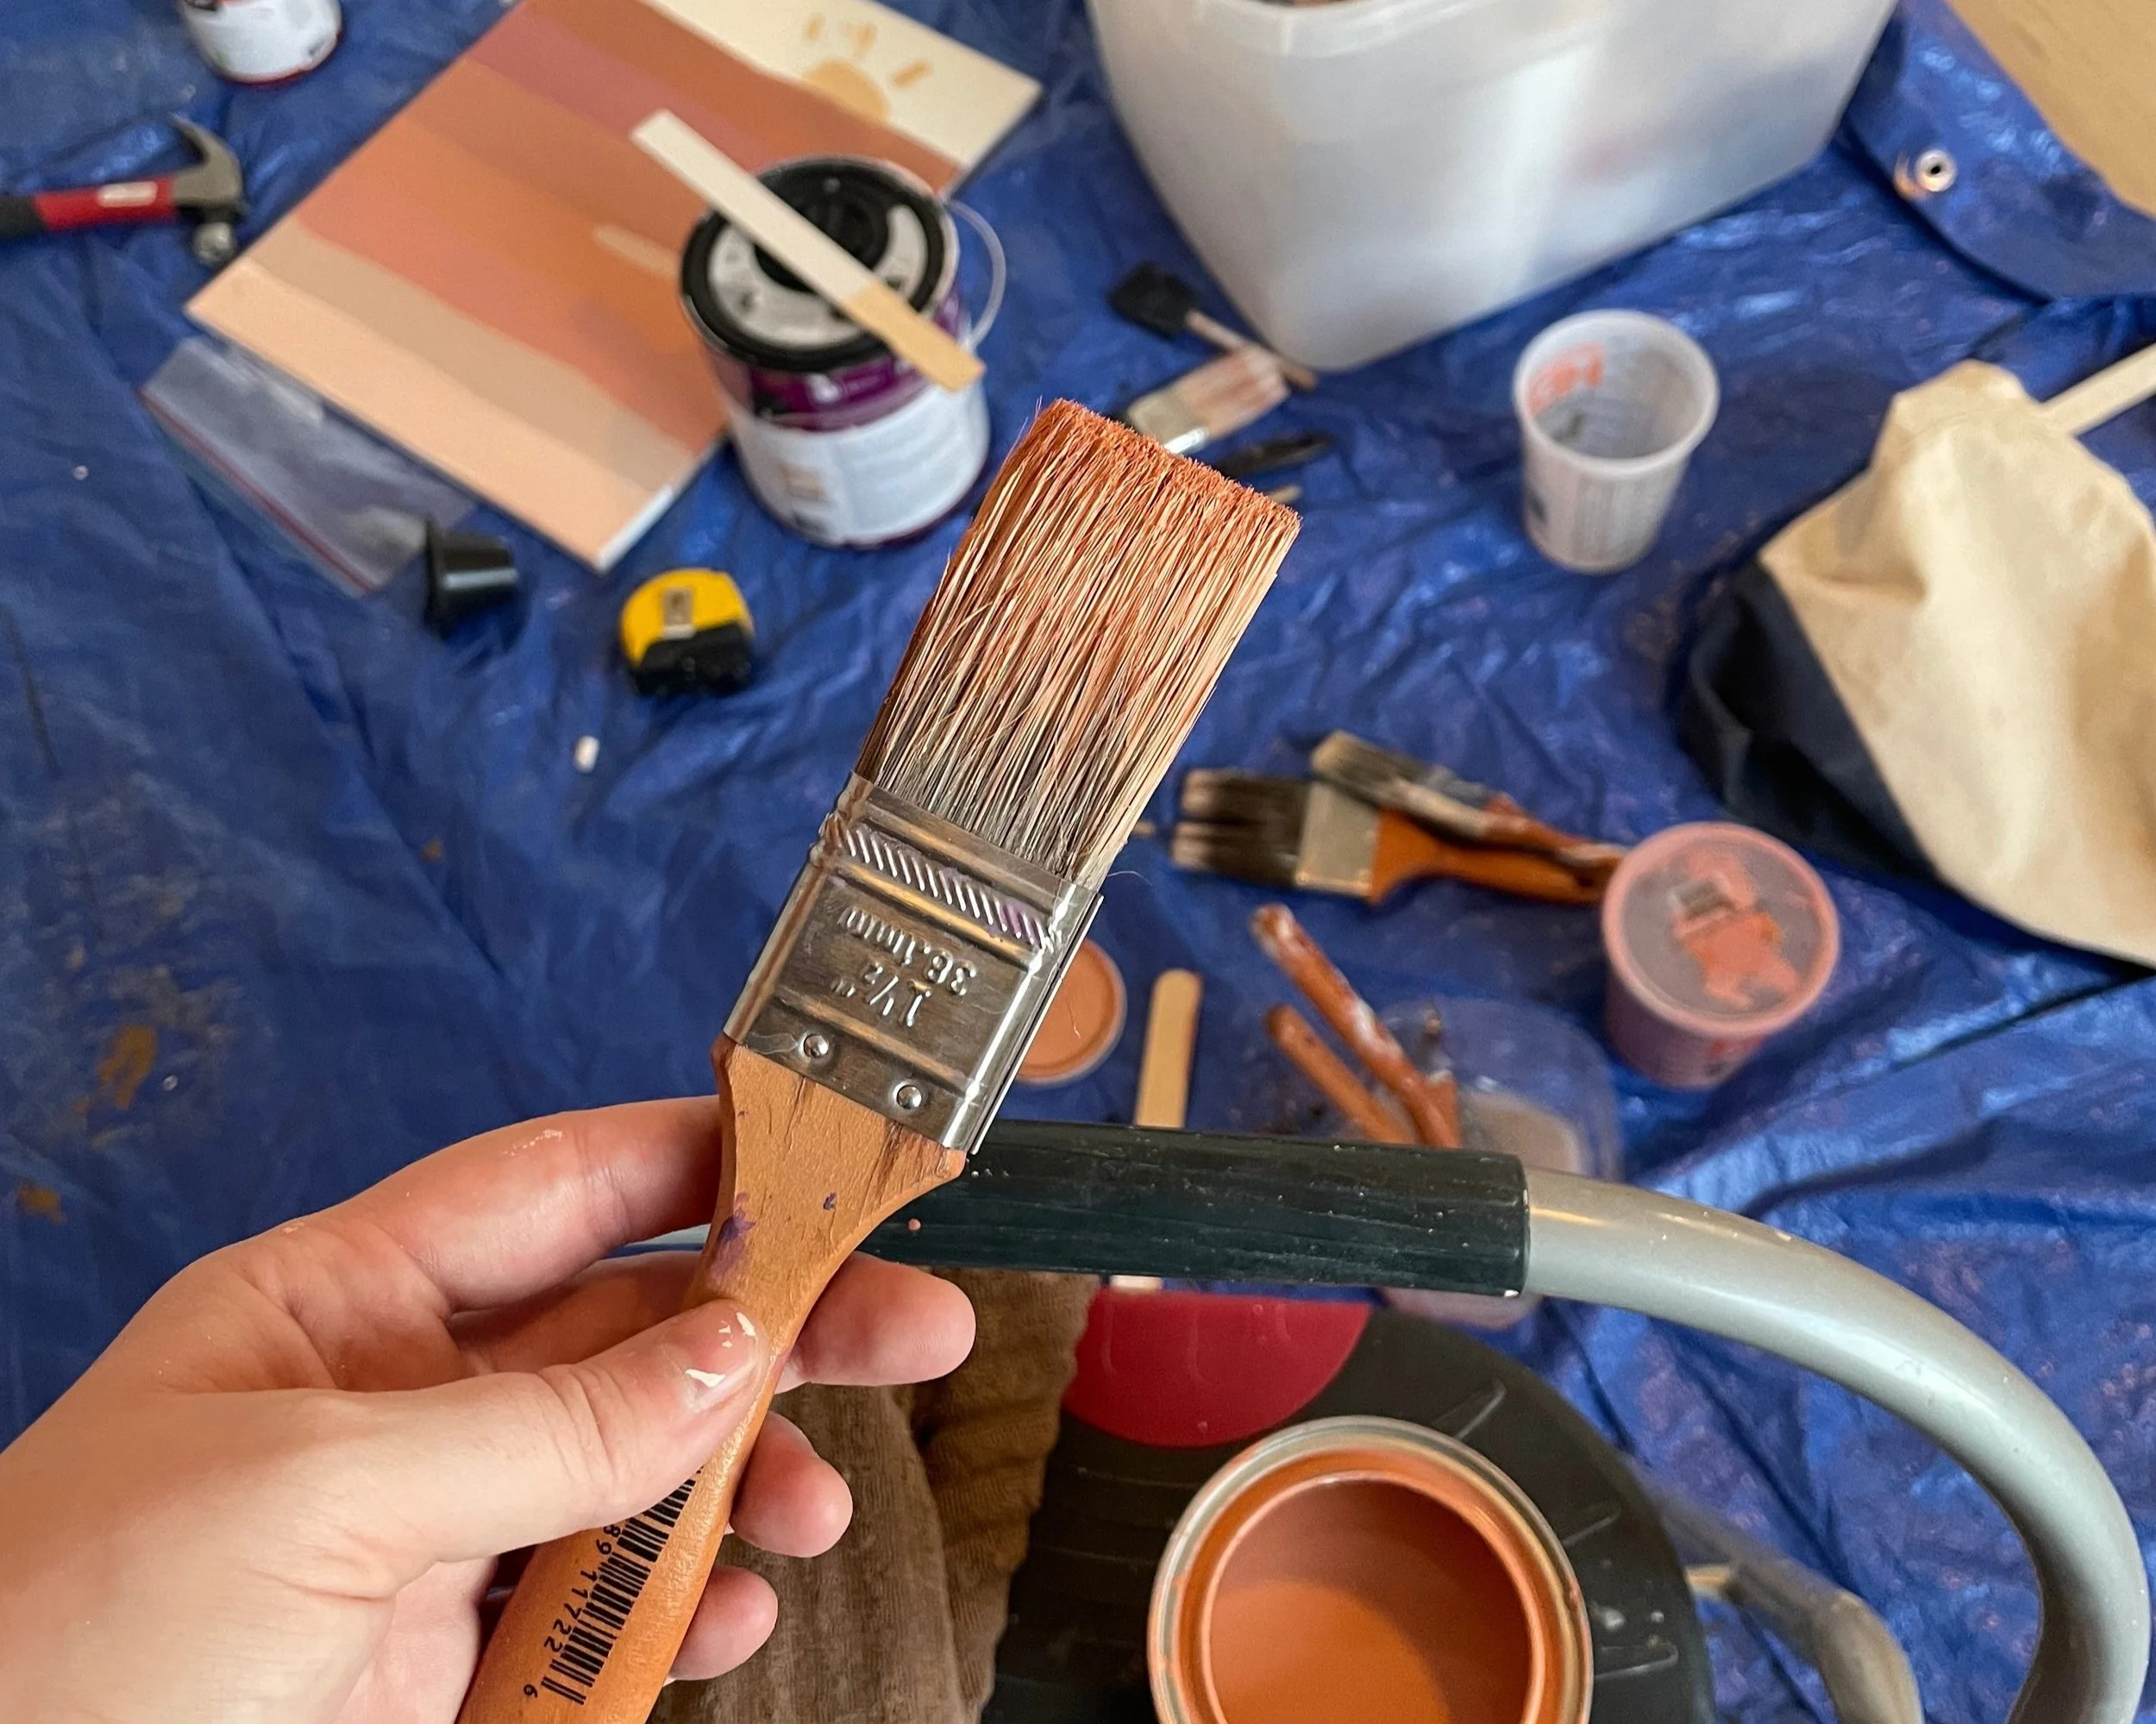
5. Gather Your Supplies
Before you begin painting, gather all your supplies. Your free PDF supply list will be available to download at the end, but here is a condensed list to get you started:
1. Paint brushes in various sizes
2. Paint rollers and trays
3. Painter’s tape
4. Drop cloths or plastic sheets to protect the floor
5. Chalk or pencil for sketching
6. Paint samples in your chosen colors
7. Primer (if needed)
When acquiring your paint, I recommend using Home Depot’s color picker online. You can match their available paint colors with the color palette you chose and then, considering how much paint you need, you can either order paint samples or a larger quantity suitable for your wall size. One time I did this after 5 pm and picked up my paint by 9 am the next day!
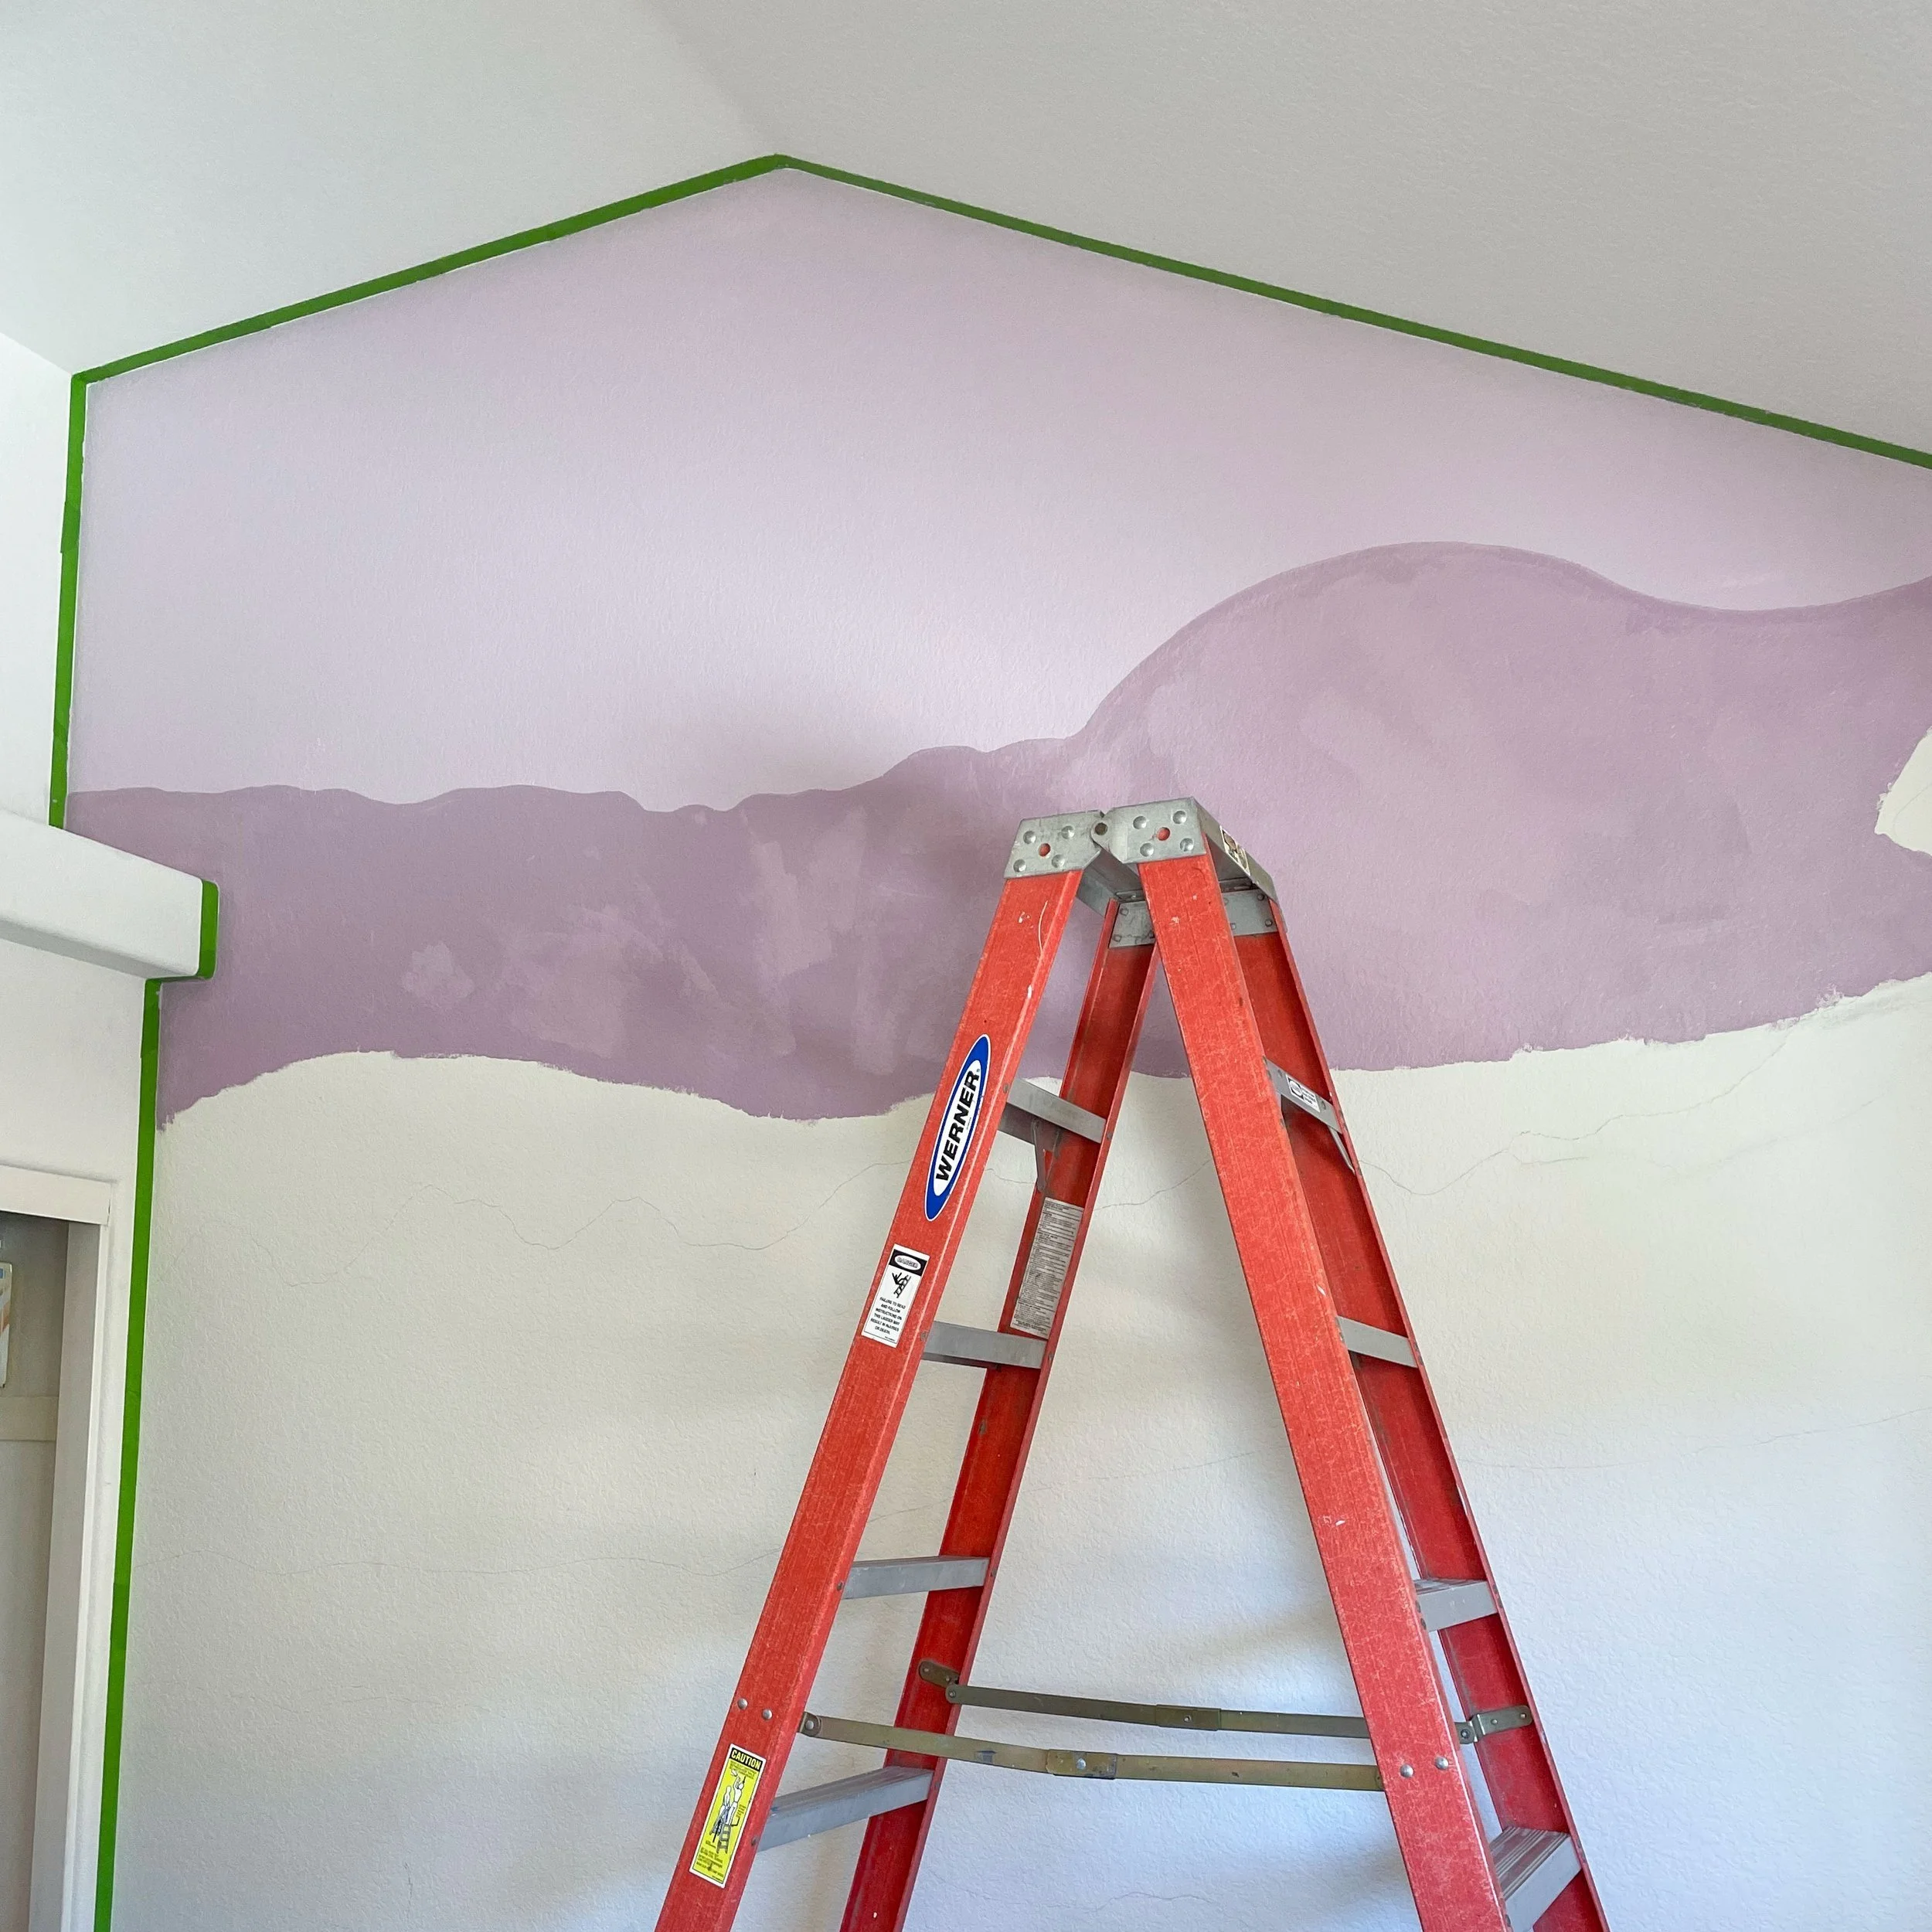
6. Prepare the Space

Prepare your space by laying down drop cloths or plastic sheets directly under the wall. Then, use painter's tape to outline the mural wall, which will help create clean edges. Next, measure your wall and compare that to the size of your mockup. Proportion out the layers and use chalk or a pencil to draw these lines onto the wall. Figuring out how much space each layer takes up can be an estimate. This will just serve as your general guide for how much height to give each layer and you can always adjust if something feels off.
7. Paint the Layers
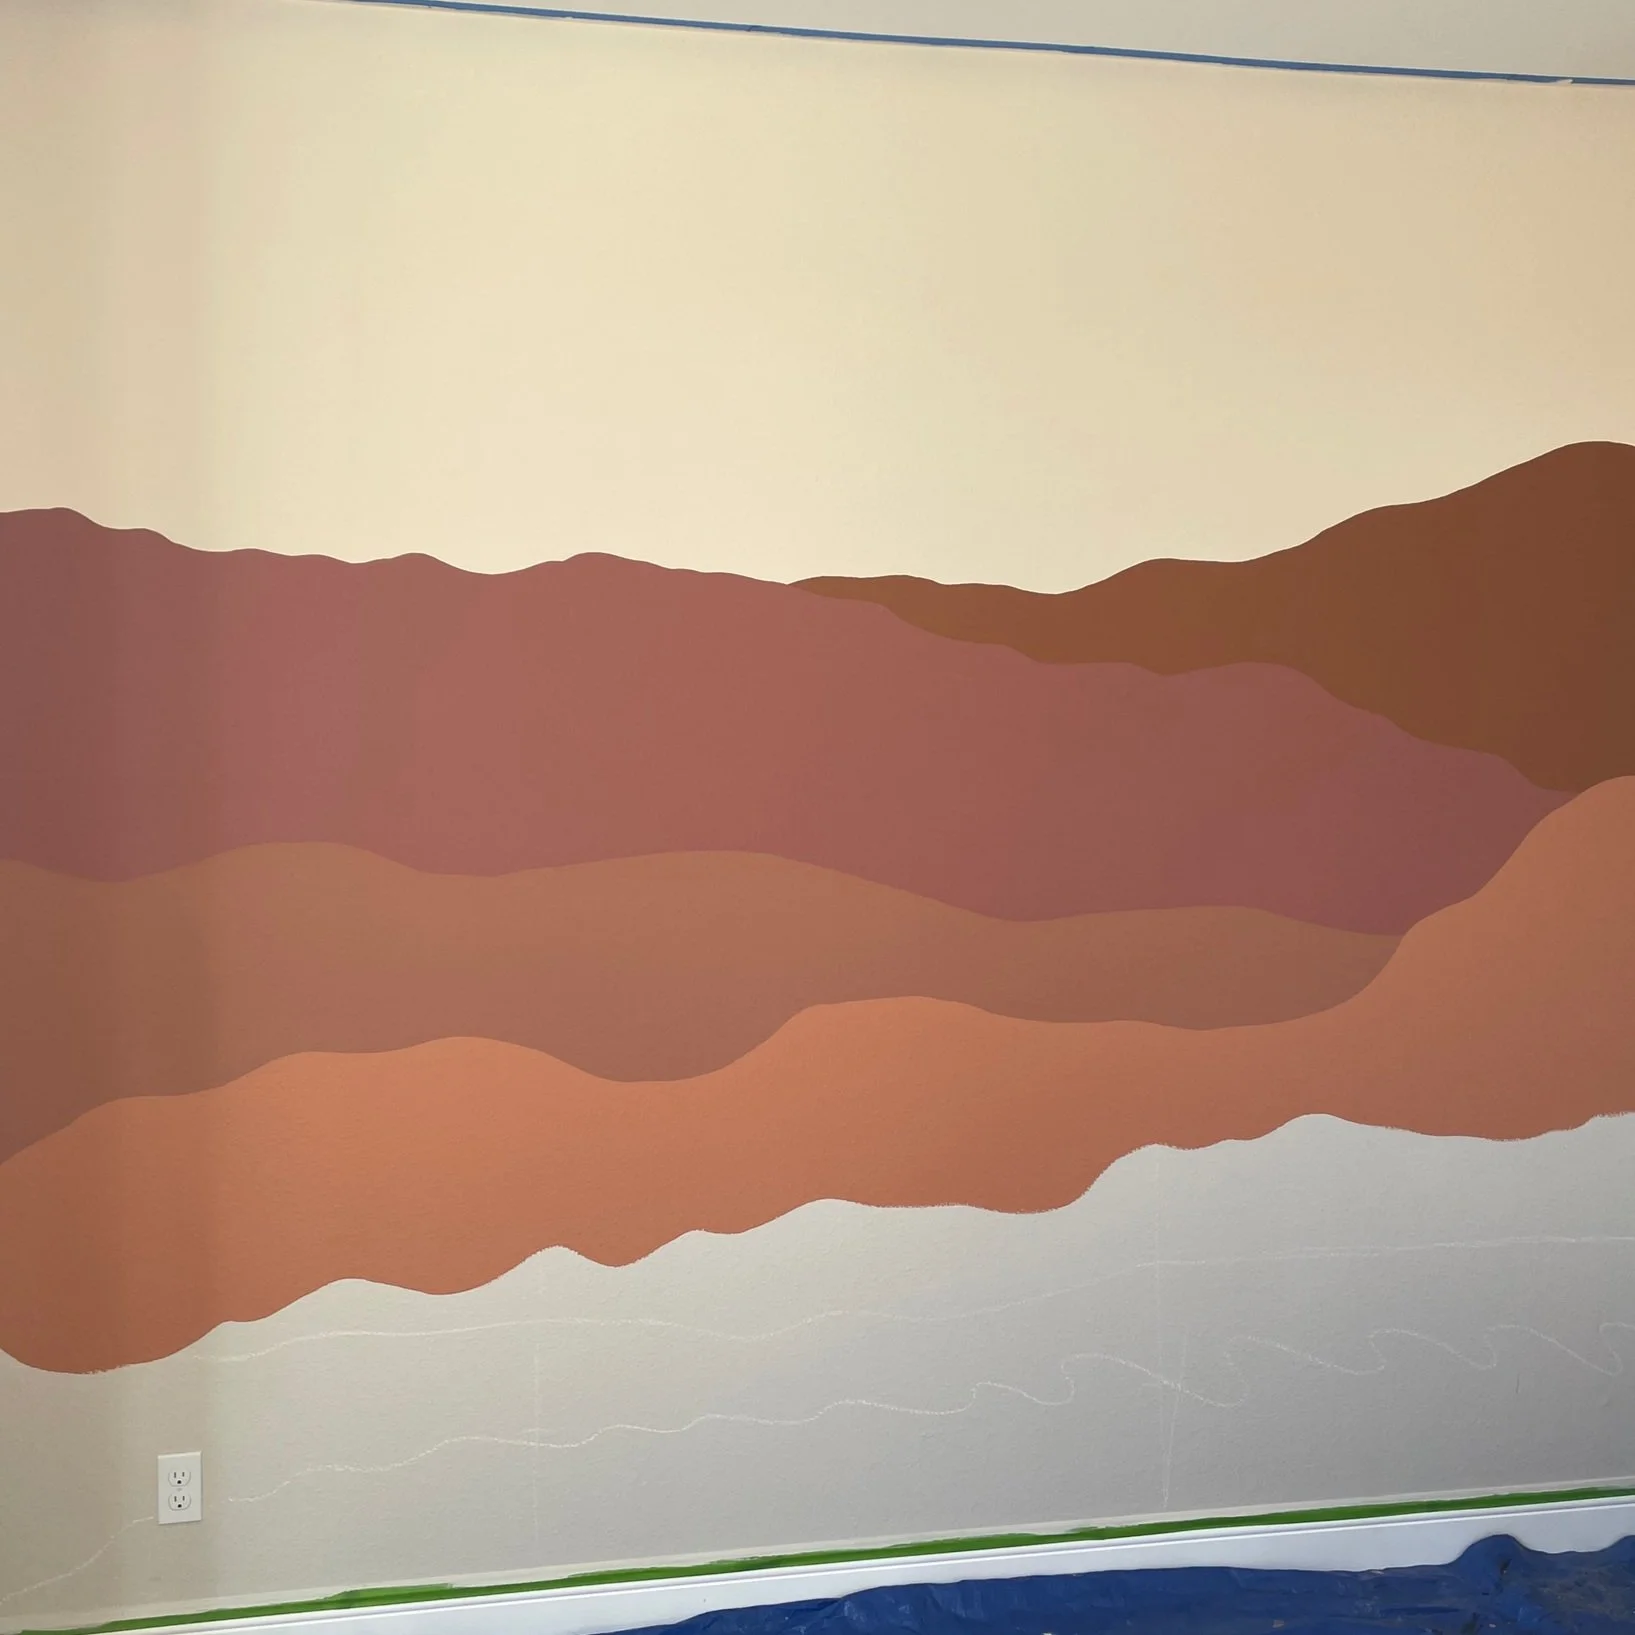
Start with the lightest color at the top and work your way down to the darkest color (or vice versa). Begin by applying the base color for each layer, using a roller for larger areas and a brush for more detailed sections. The only key here to achieving the ombre effect is using colors that are similar in value and placing them next to each other as you travel from one layer to the next.
8. Add in Details


Once all your layers are painted, it's time to add some details to your mural. You can use stencils, a projector to trace images onto the wall, or freehand paint the desired elements. Take your time on this step and enjoy the process of adding those special touches that will make your mural really come alive!
9. Clean Up and Take Photos
After finishing your final details, take a moment to clean up your workspace. Remove painter's tape and touch up any areas around the edge that may require it. Once everything is tidy, step back and admire your work! Take some photos to capture the beauty of your layered nursery mural and share images of your new masterpiece.
10. Enjoy Your New Space!
Congratulations! You've successfully painted a stunning layered nursery mural. Now it's time to sit back, relax, and enjoy your new space with your little one. This unique and personalized painting will provide a beautiful backdrop for many cherished moments and inspire your child's imagination for years to come! As promised, please click here or the button below to download your free PDF mural supply list so you can get started on your next custom mural.

And before you think “there’s no way I can do that” YES YOU CAN! Please read the comments below from people just like you who were inspired by this layered mural concept and decided to try it out for themselves. You’ve got this!
murals from the community

“Will you just look at the masterpiece [my husband] has created, inspired by the amazing BeccaDwyerDesign for Lilibeth’s bedroom!? He’s poured his heart and soul into this and it really shows. I love it so much and we are never decorating this room ever again.” - Steph Harley

“I saw the beautiful fantasy-inspired mural that you painted and I was OBSESSED. I saved it and kept coming back to the idea for months. We decided to use it as inspiration for our own nursery, and wanted to say thank you for sharing your art and creativity across platforms.” - Ianna Drew