
How I Painted My Most Colorful Utility Box Yet
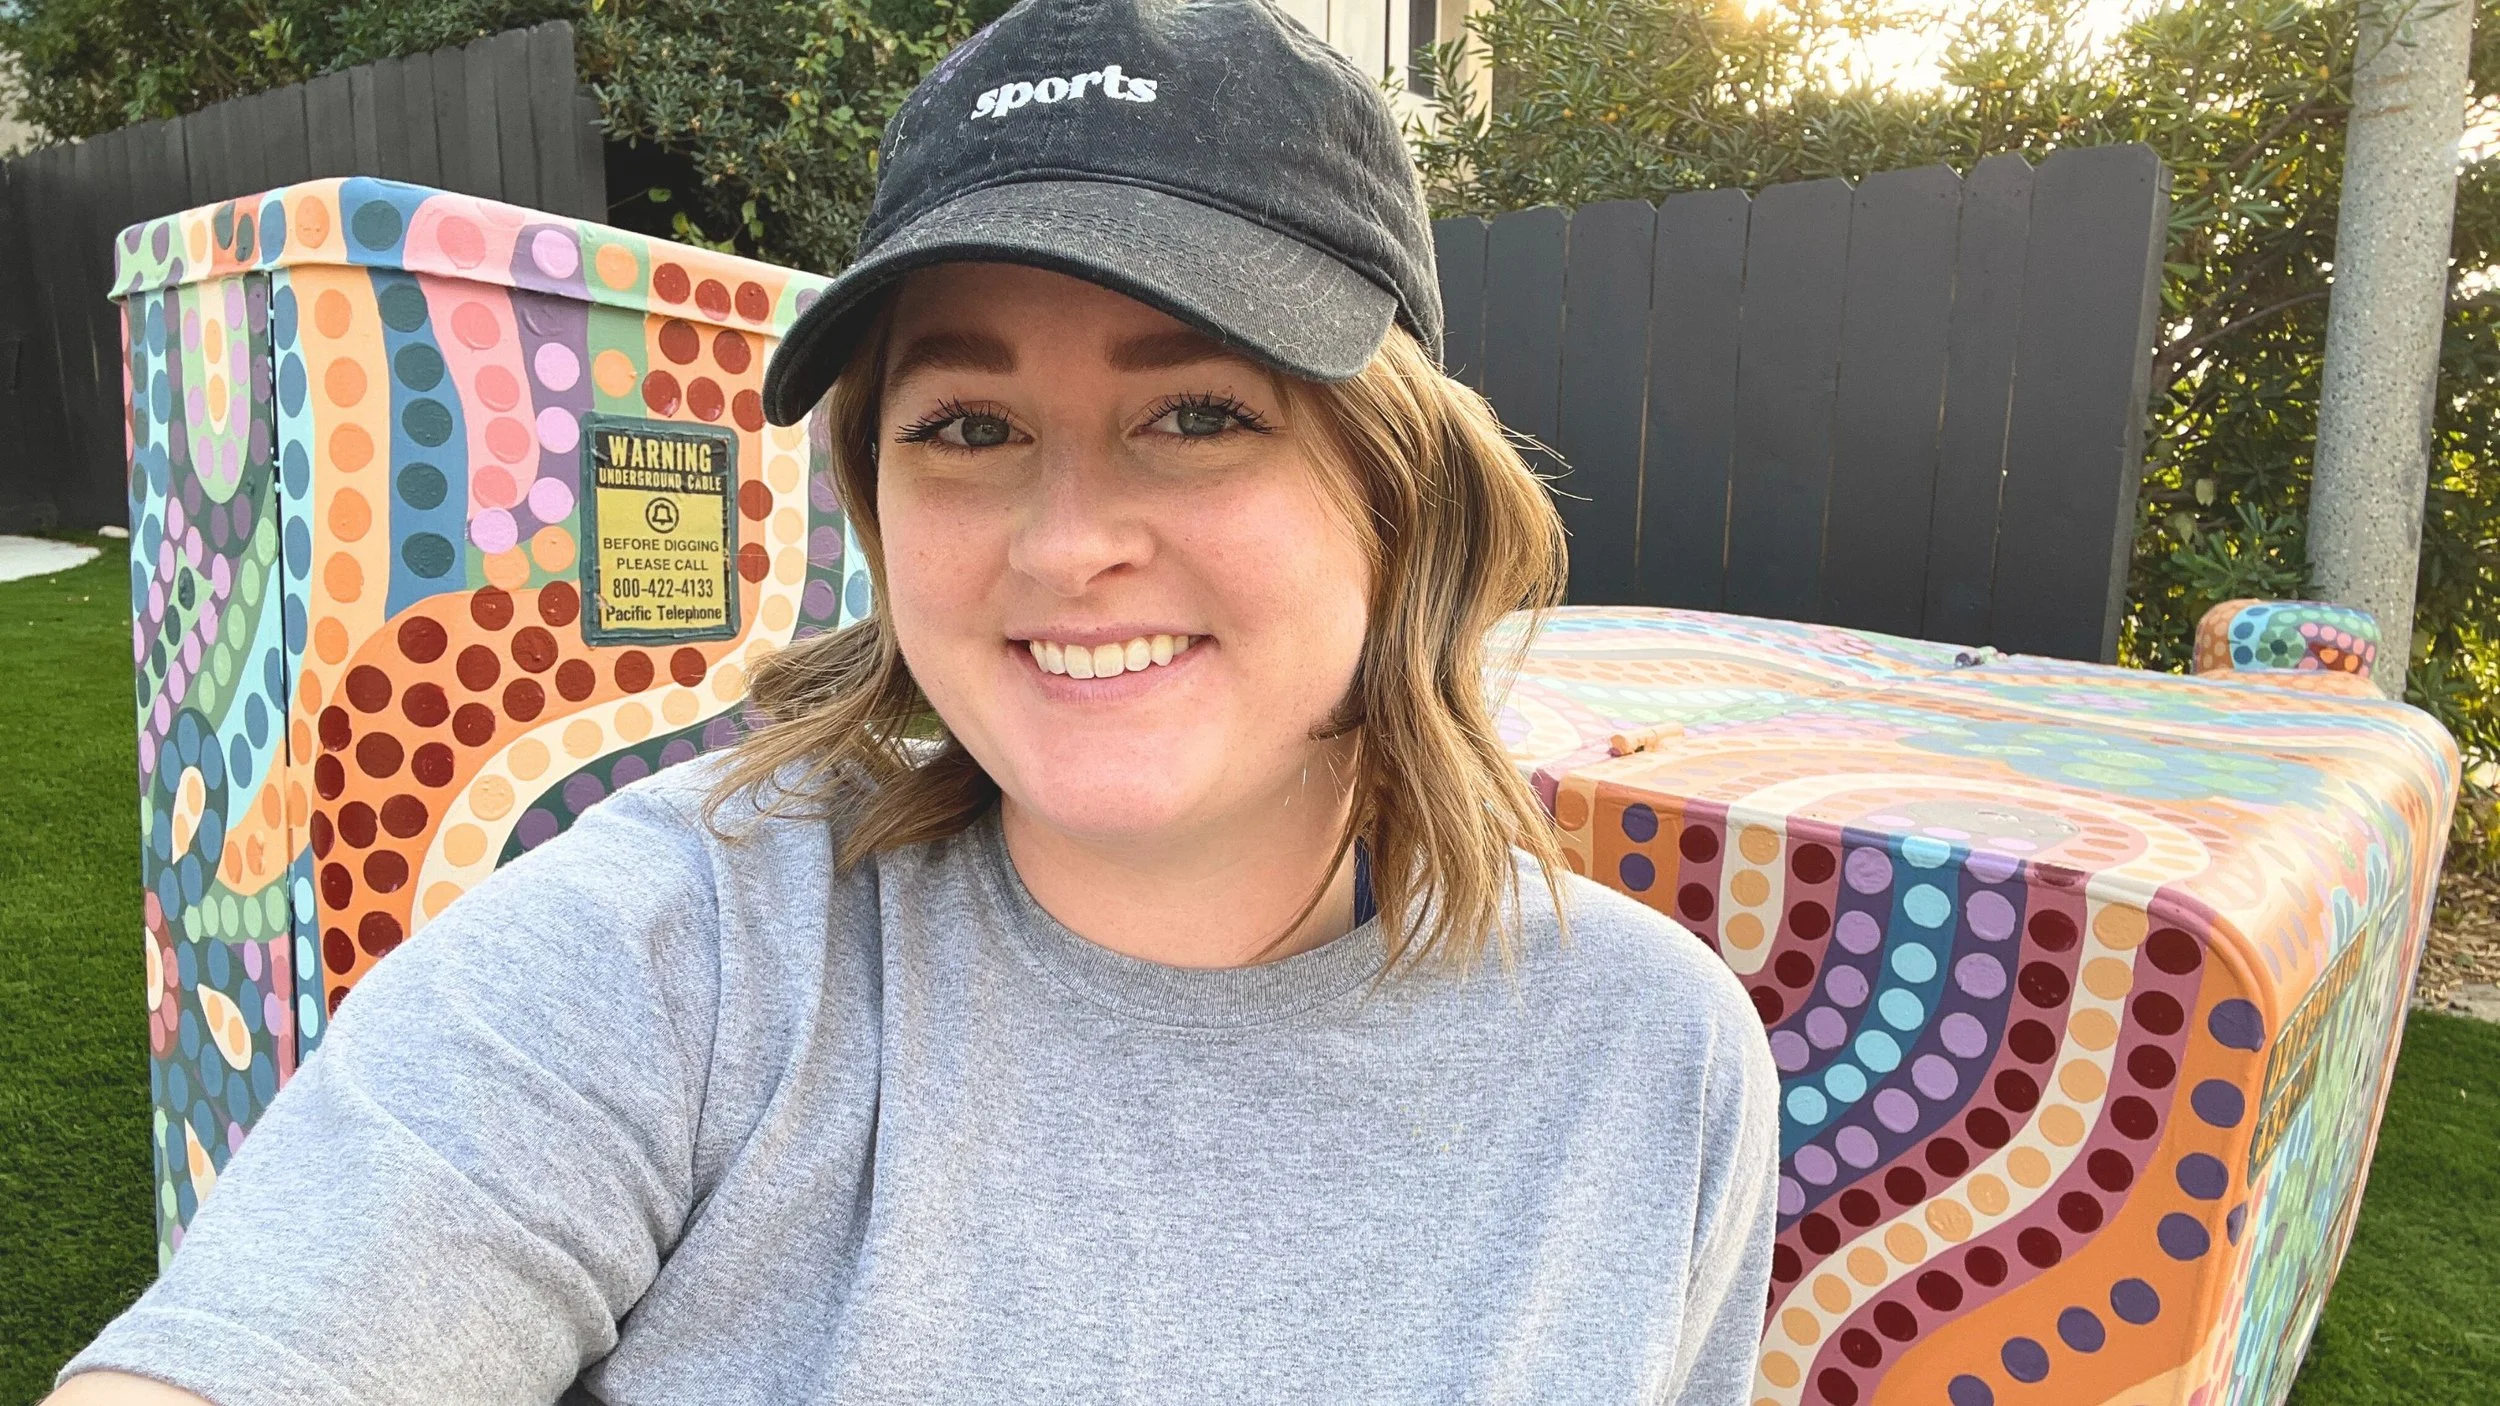
Say hello to my most colorful painting to date!
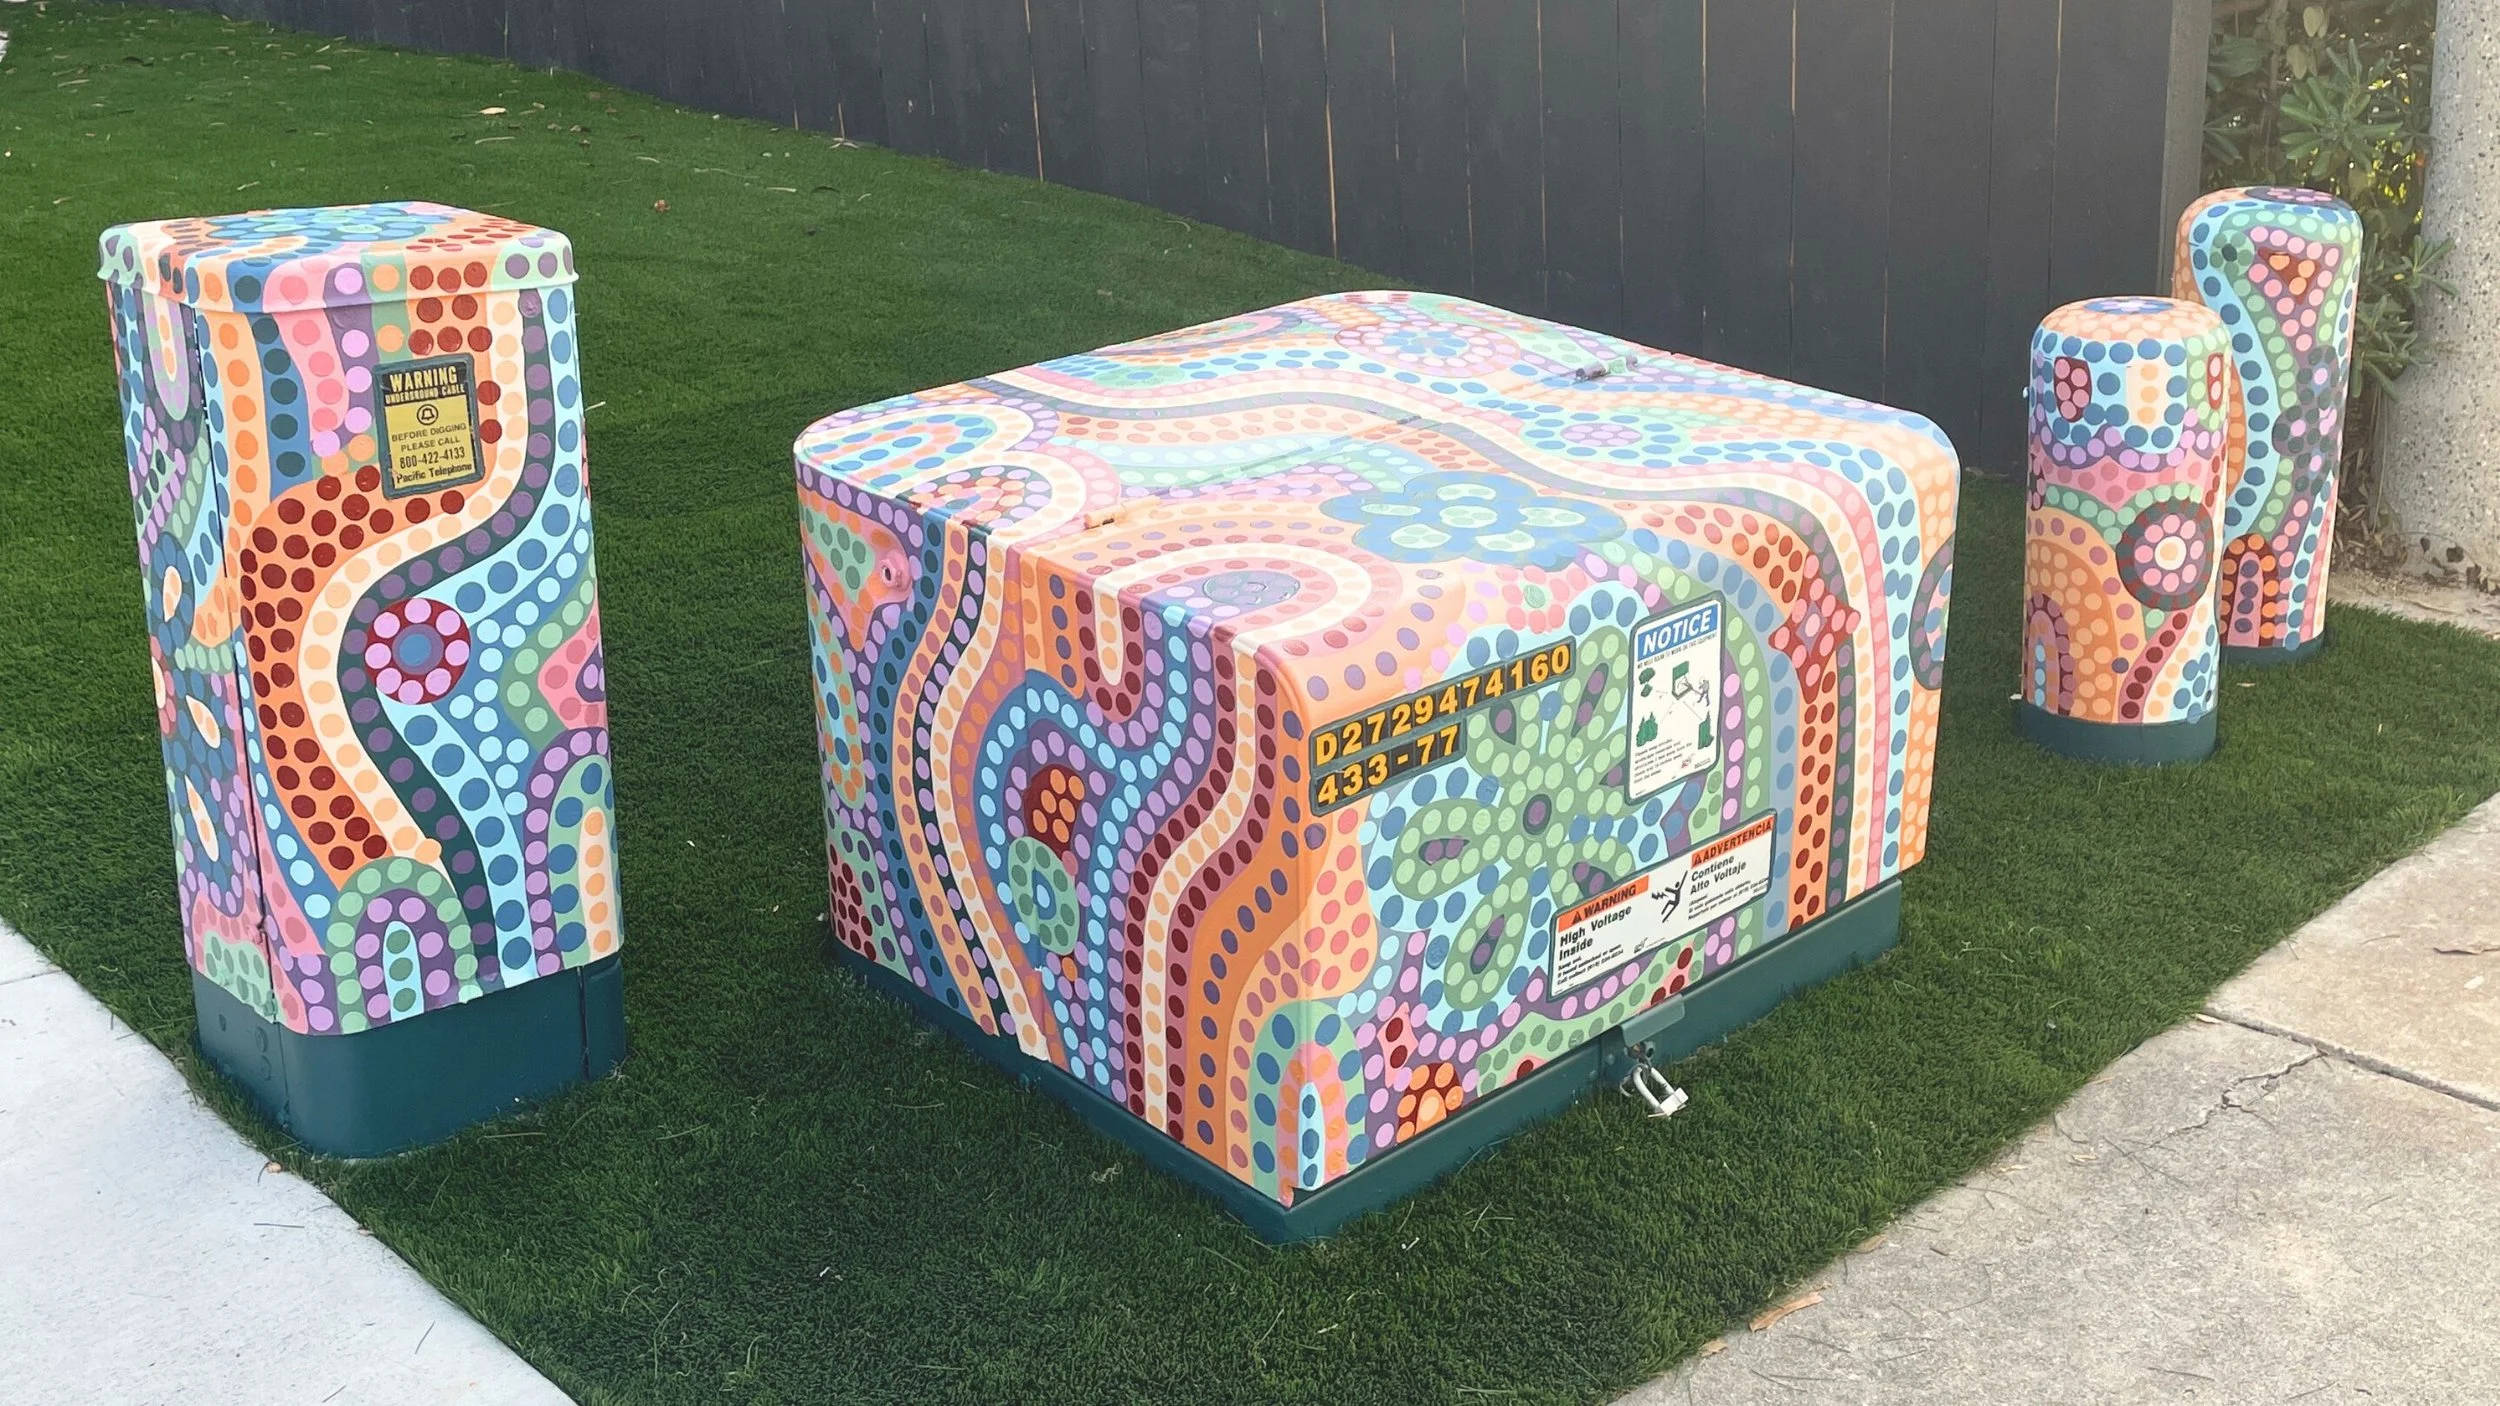
At the end of 2024, I had the opportunity to paint this vibrant, dotted utility box outside someone’s residence. This project reminded me why I love creating public art—I’m so grateful I get to bring joy to people through my work. It’s been a while since I shared behind-the-scenes details of a utility box project, so I figured this was the perfect opportunity!
Like most inquiries I receive, this client reached out to me through my website. That’s right—most of my project requests come through my website, not social media (this is a common misconception). I’ve also found that people who reach out through my website have taken the time to familiarize themselves with my work and have a better idea of what to expect or how I can help.
Also, as I’m writing this, it’s been almost a year since this client first contacted last May! Following up with clients is super important; sometimes life happens and projects get delayed, but in my experience, the clients are happy once I’ve checked in and are still interested.
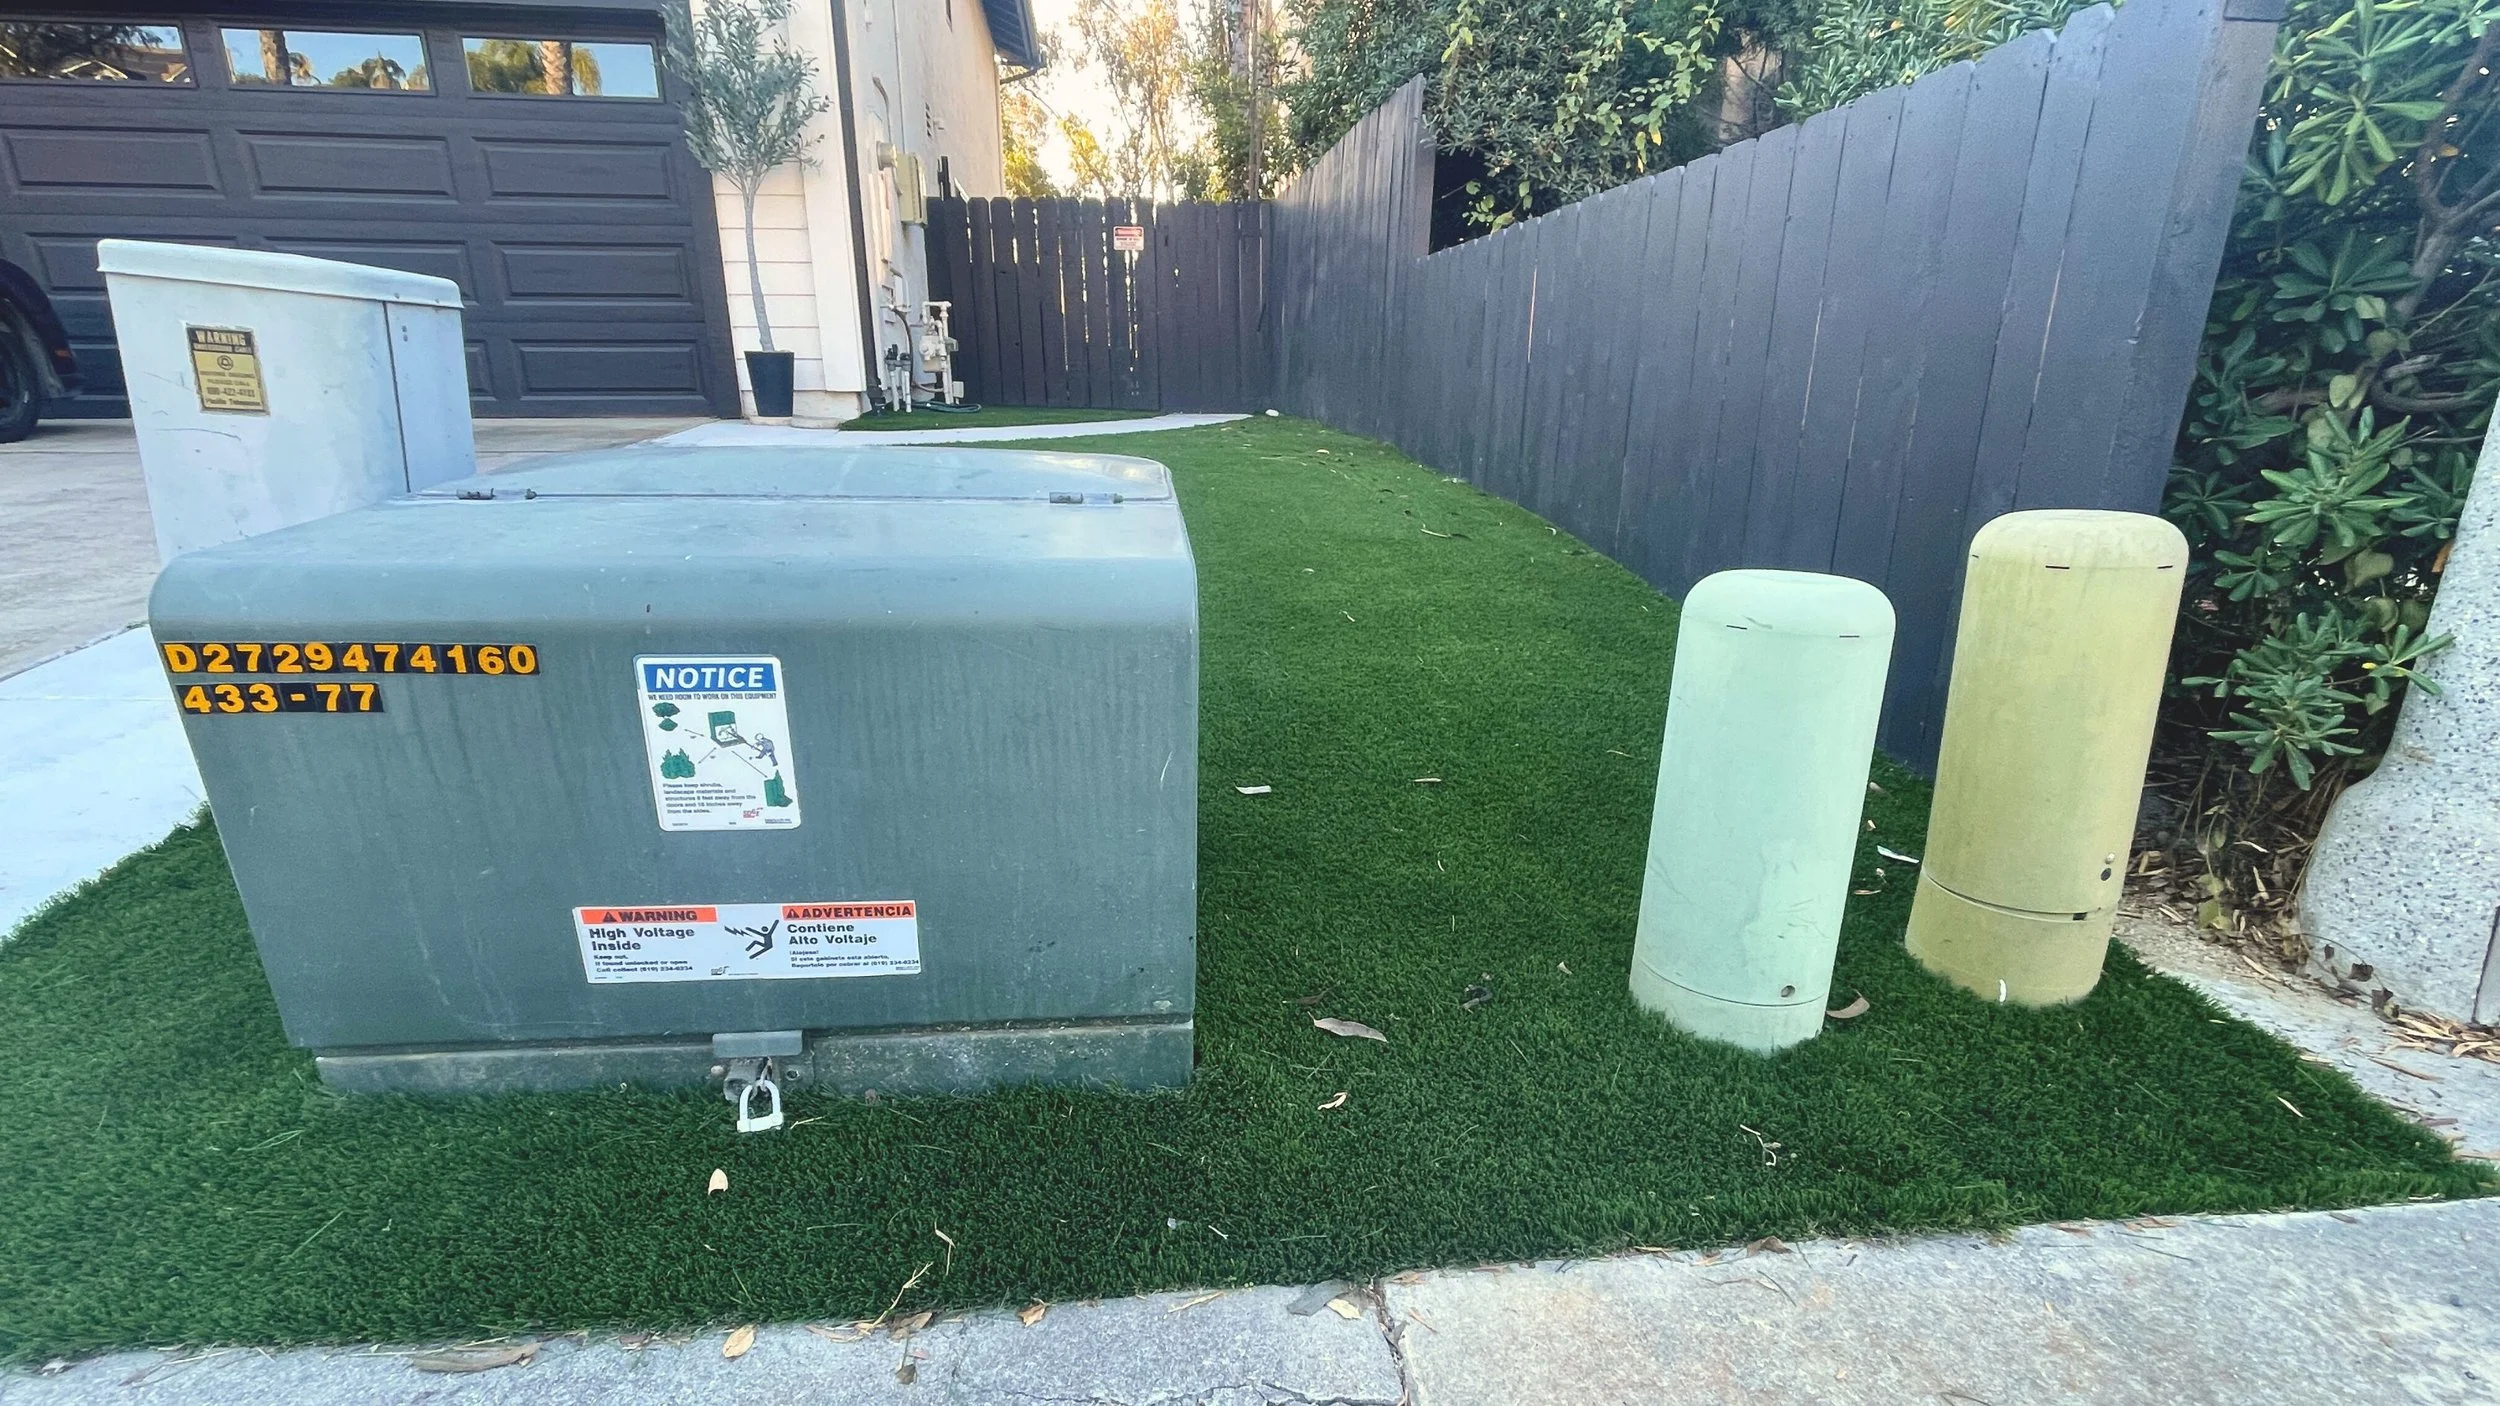
Once we reconnected, the client sent over a photo of the utility boxes, and I responded with a quote along with a mood board and an initial digital sketch. To create the mock-up, I simply overlaid my digital sketch onto the photo using the app Procreate. I let the clients know that while the final piece wouldn’t be an exact match (since I’d be using my intuition to choose colors in the moment), it would follow the general design.

Then, something rare and beautiful happened—they had no notes! They loved the sketch and sent the deposit over right away (I have clients pay half up front and the rest upon project completion).
Since we both had busy schedules, we set a painting date for a couple of months out. And then…I kind of procrastinated getting my supplies together until the day before. I know, I know. But I already knew I had all the paint I needed!
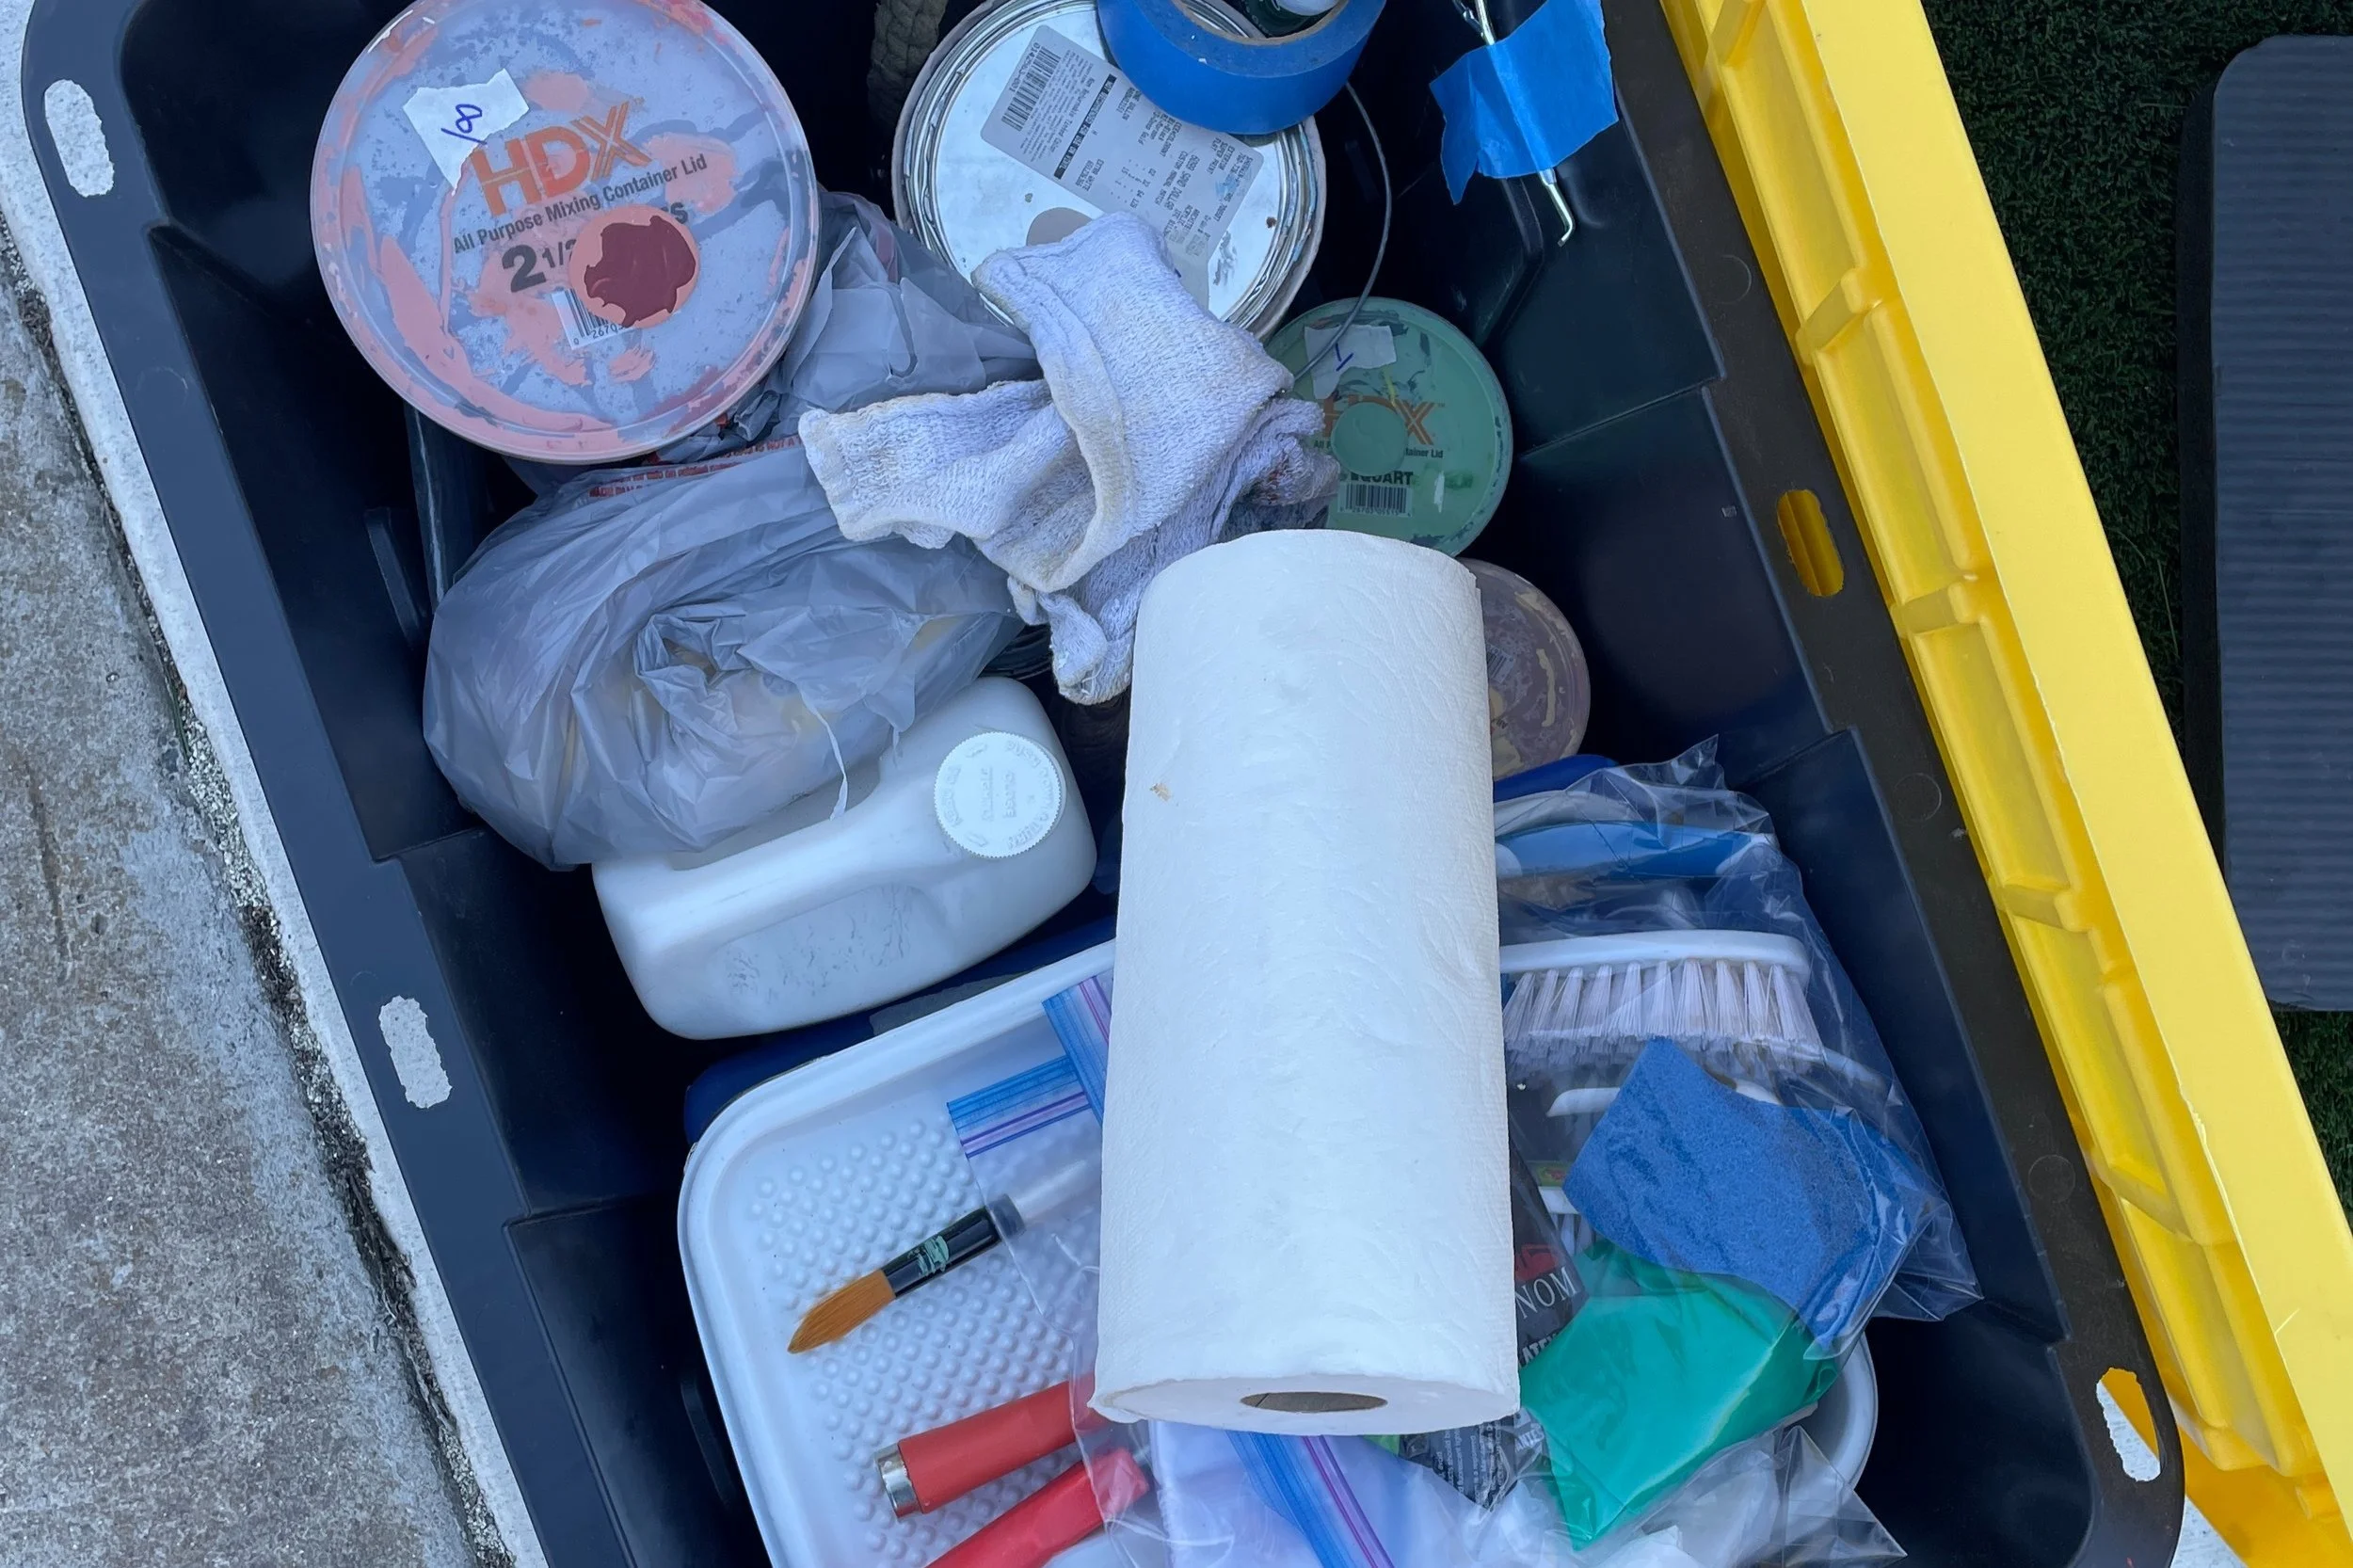
The only new supplies I purchased were primer and varnish from a company called Mural Colors. This company didn’t exist when I painted my first utility box years ago, and they’re dedicated to creating tools specifically for mural artists, which is amazing. I’m not sponsored by them (though, hey, I wouldn’t be mad about it!), but I’ve enjoyed using their quality products.
That said, I did wait until the night before to grab some last-minute supplies. I knew that I needed a dot tool to make painting the dots easier, and I assumed it would be easy to find. I went to Michael’s and found some, but not quite as many sizes as I hoped for. I made do with what I had—some small and some large—but if I were to do this type of design again, I’d definitely order dot tools before the night before!
Painting the Box
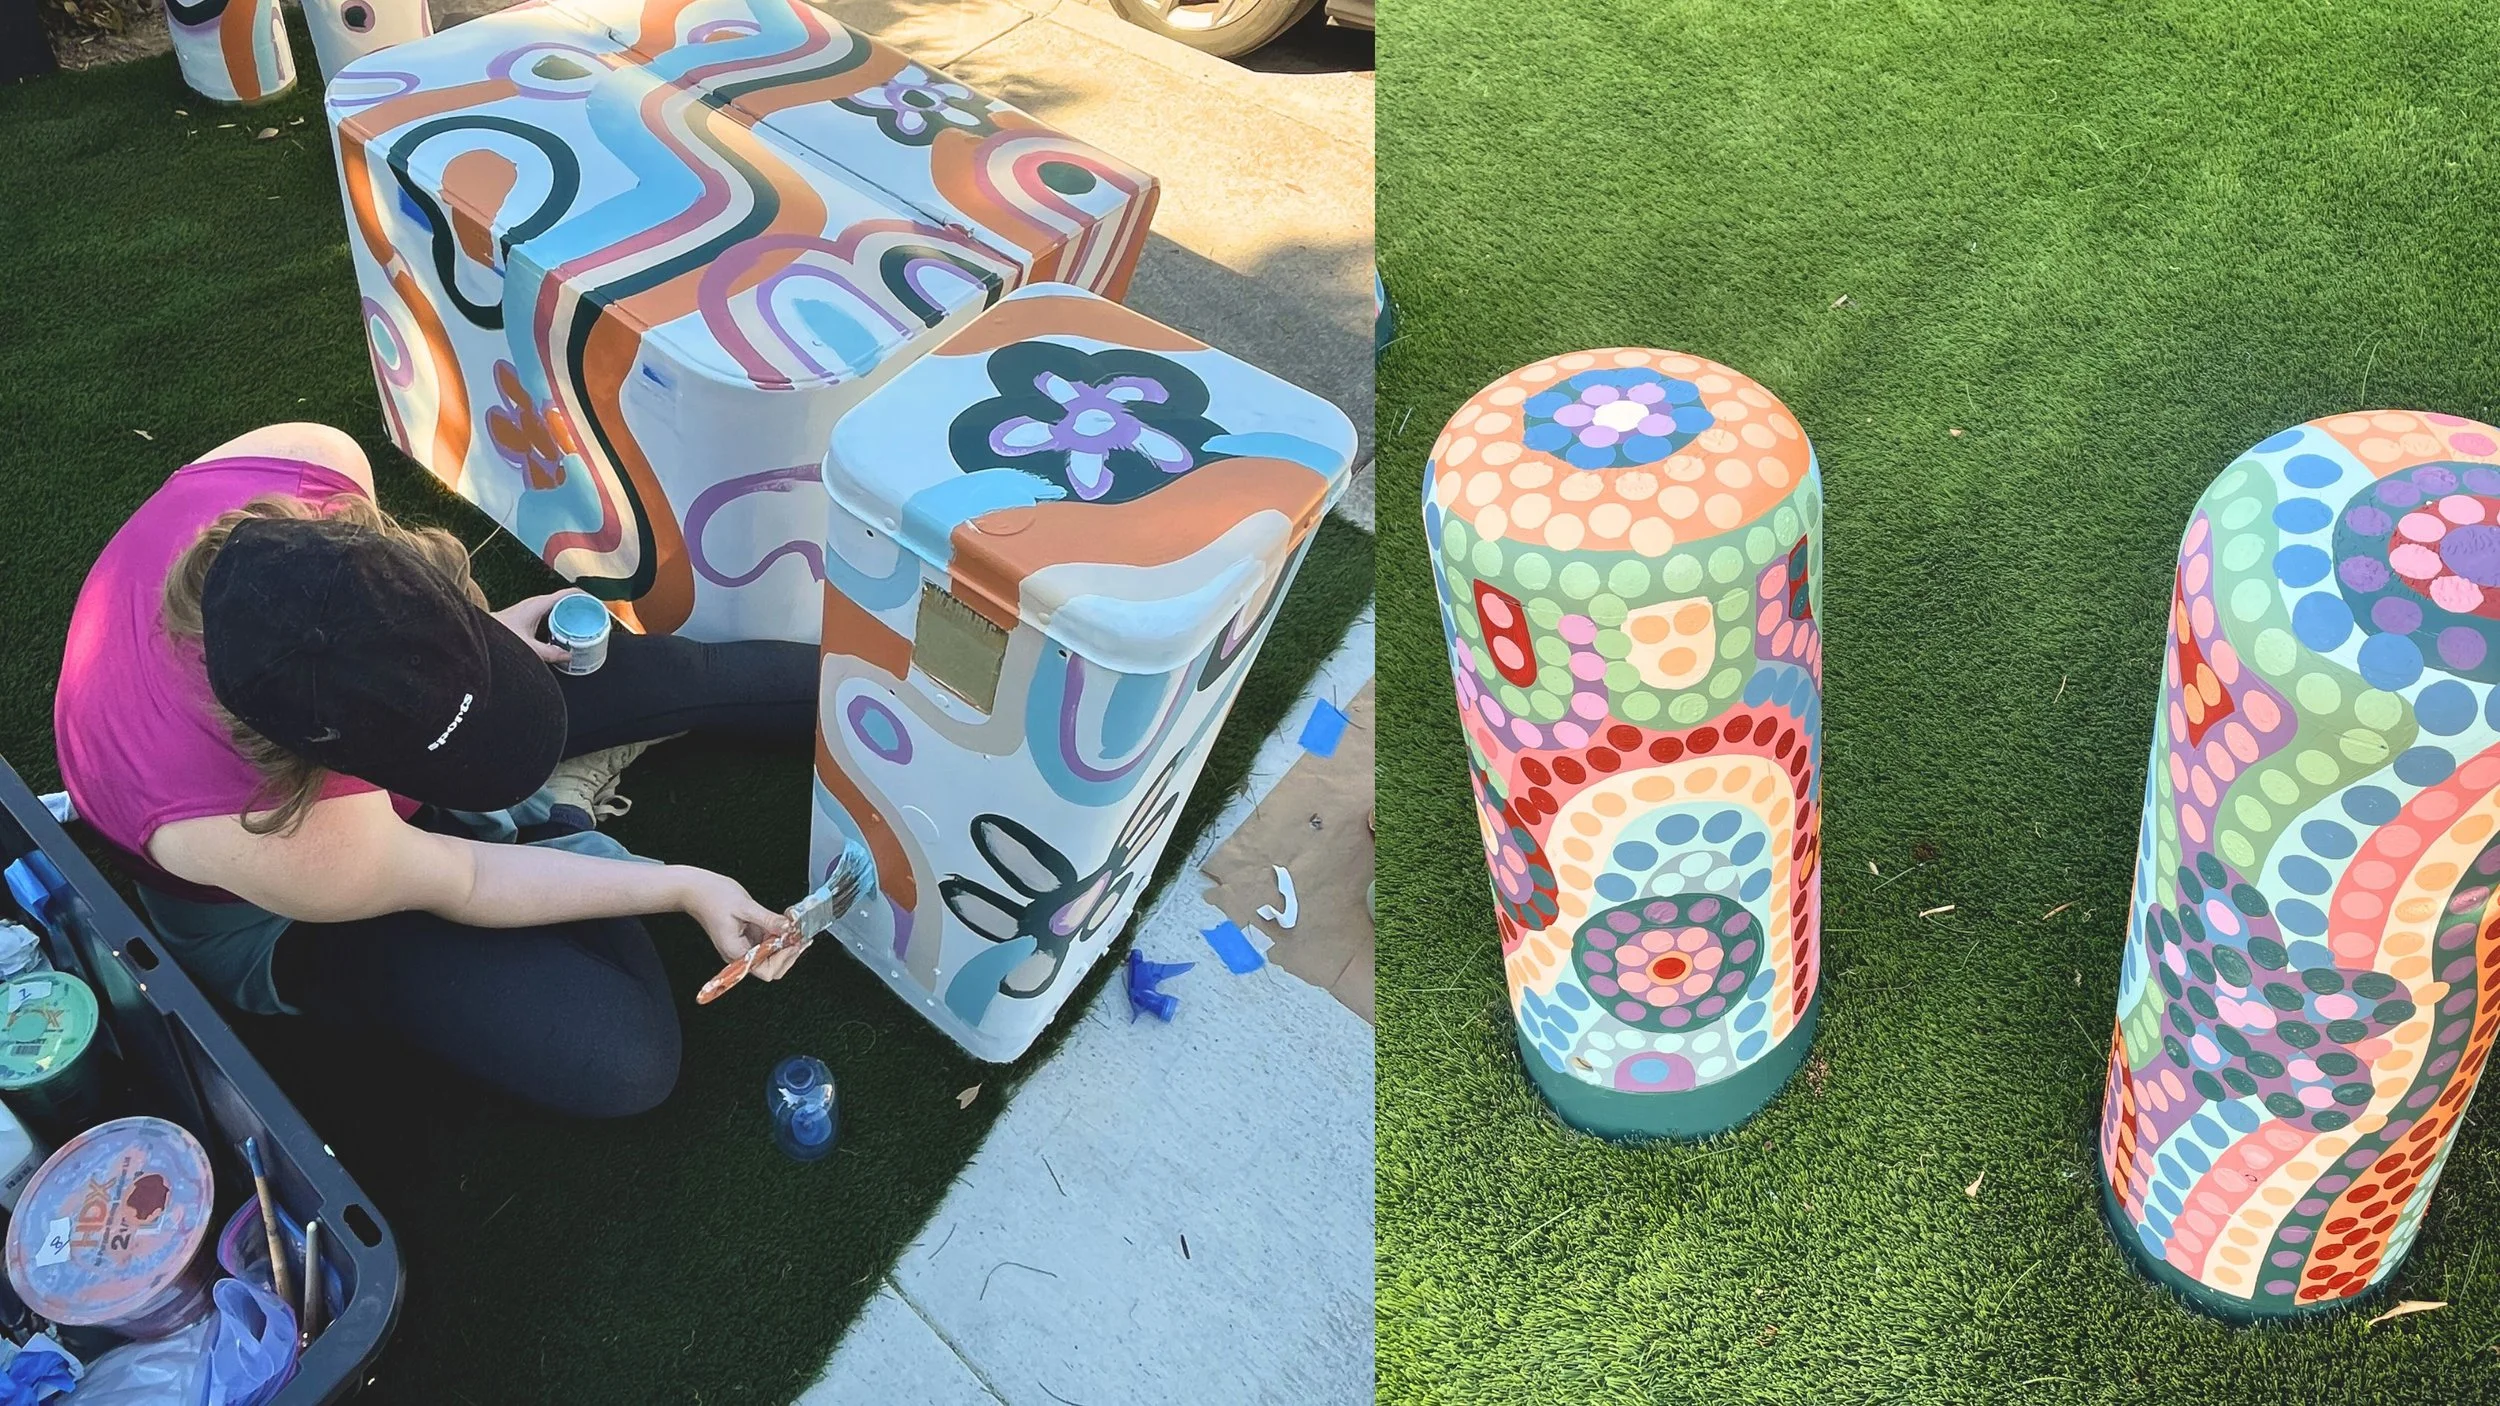
With all my supplies packed up, I drove down to Rancho Santa Fe. I had asked one person to help me paint that morning, and they volunteered for a couple of hours—helping with some of the line work and also capturing social media footage!
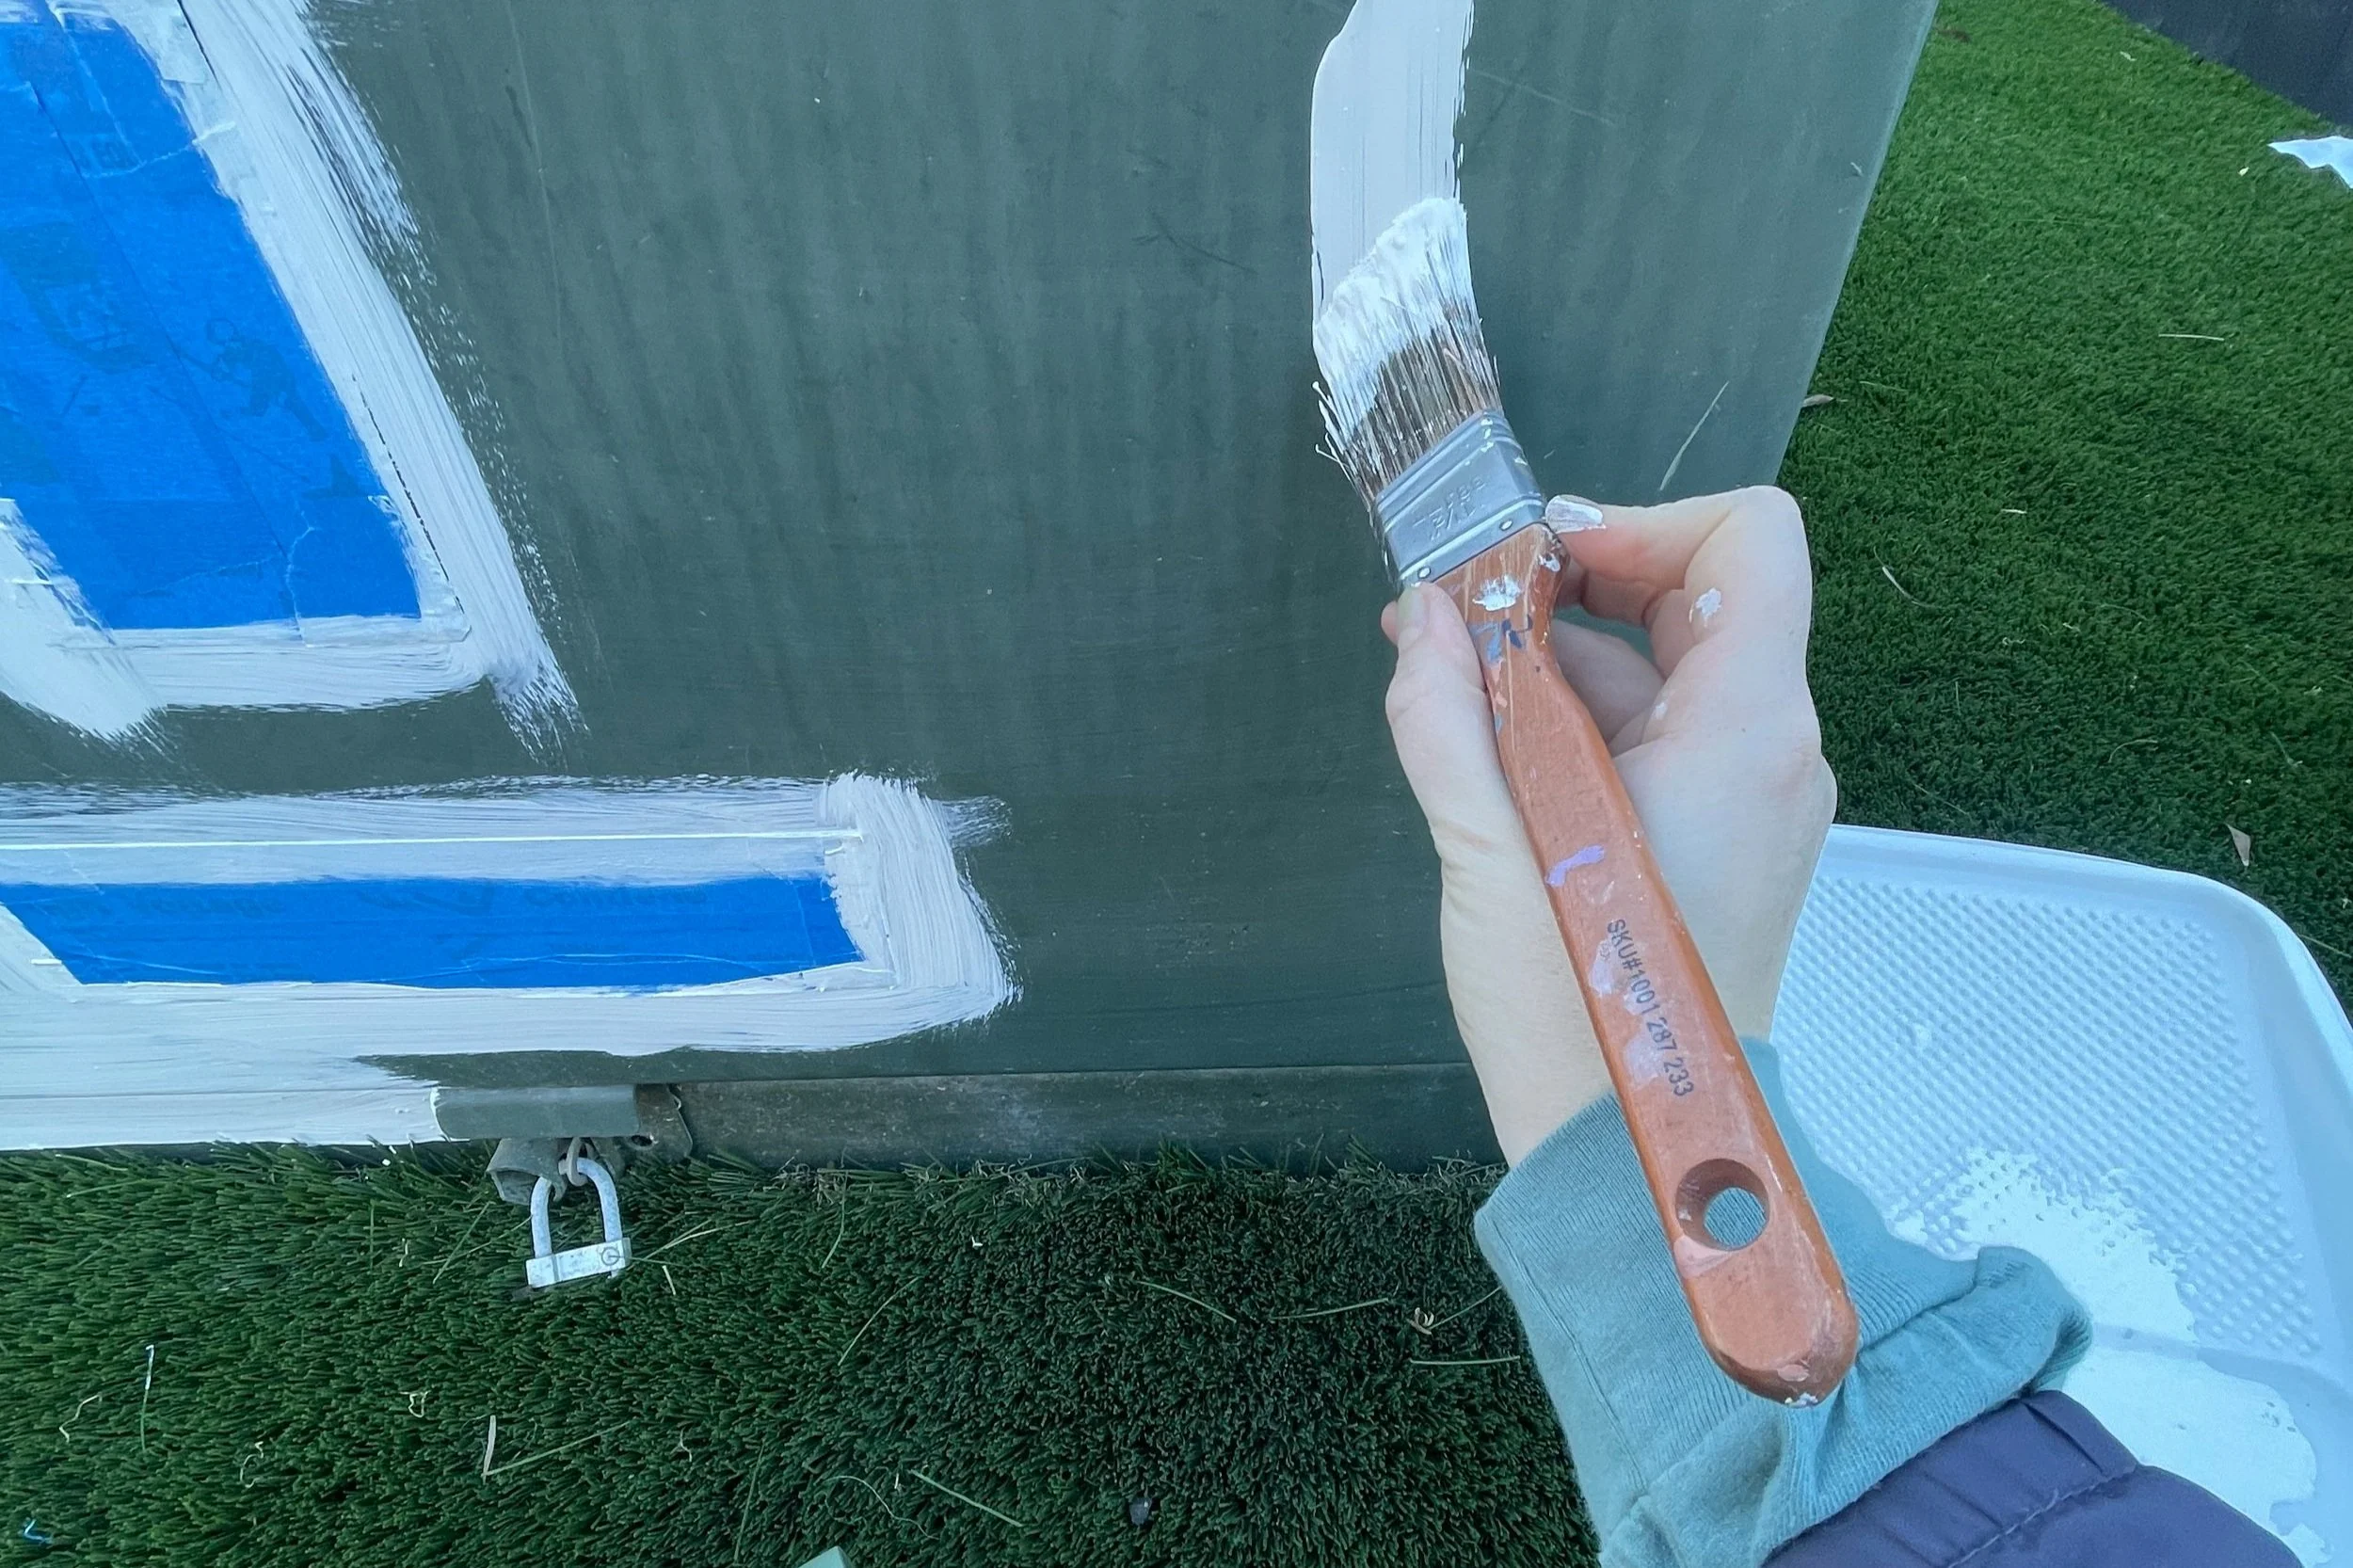
Luckily, these boxes were pretty clean, so I didn’t have to spend much time wiping away dirt or spiderwebs (which is a whole thing for utility boxes out on main streets). I started by using a small brush and primer on the corners, hinges, and edges while taping off any important signage. Then, I used a roller brush to prime the rest of the box. This step helps the paint adhere properly and prevents rust.
One challenge I didn’t anticipate? The box was surrounded by fake grass. Every other utility box or outdoor mural I’ve done has been next to concrete or solid ground, but this time, when I primed near the grass, the white paint got on it, which was not a good look. I also felt like the white against the grass looked messy, so by the end of the day, I decided to add a dark teal border around the bottom of all the boxes. The client agreed it was a great way to keep the design looking clean.
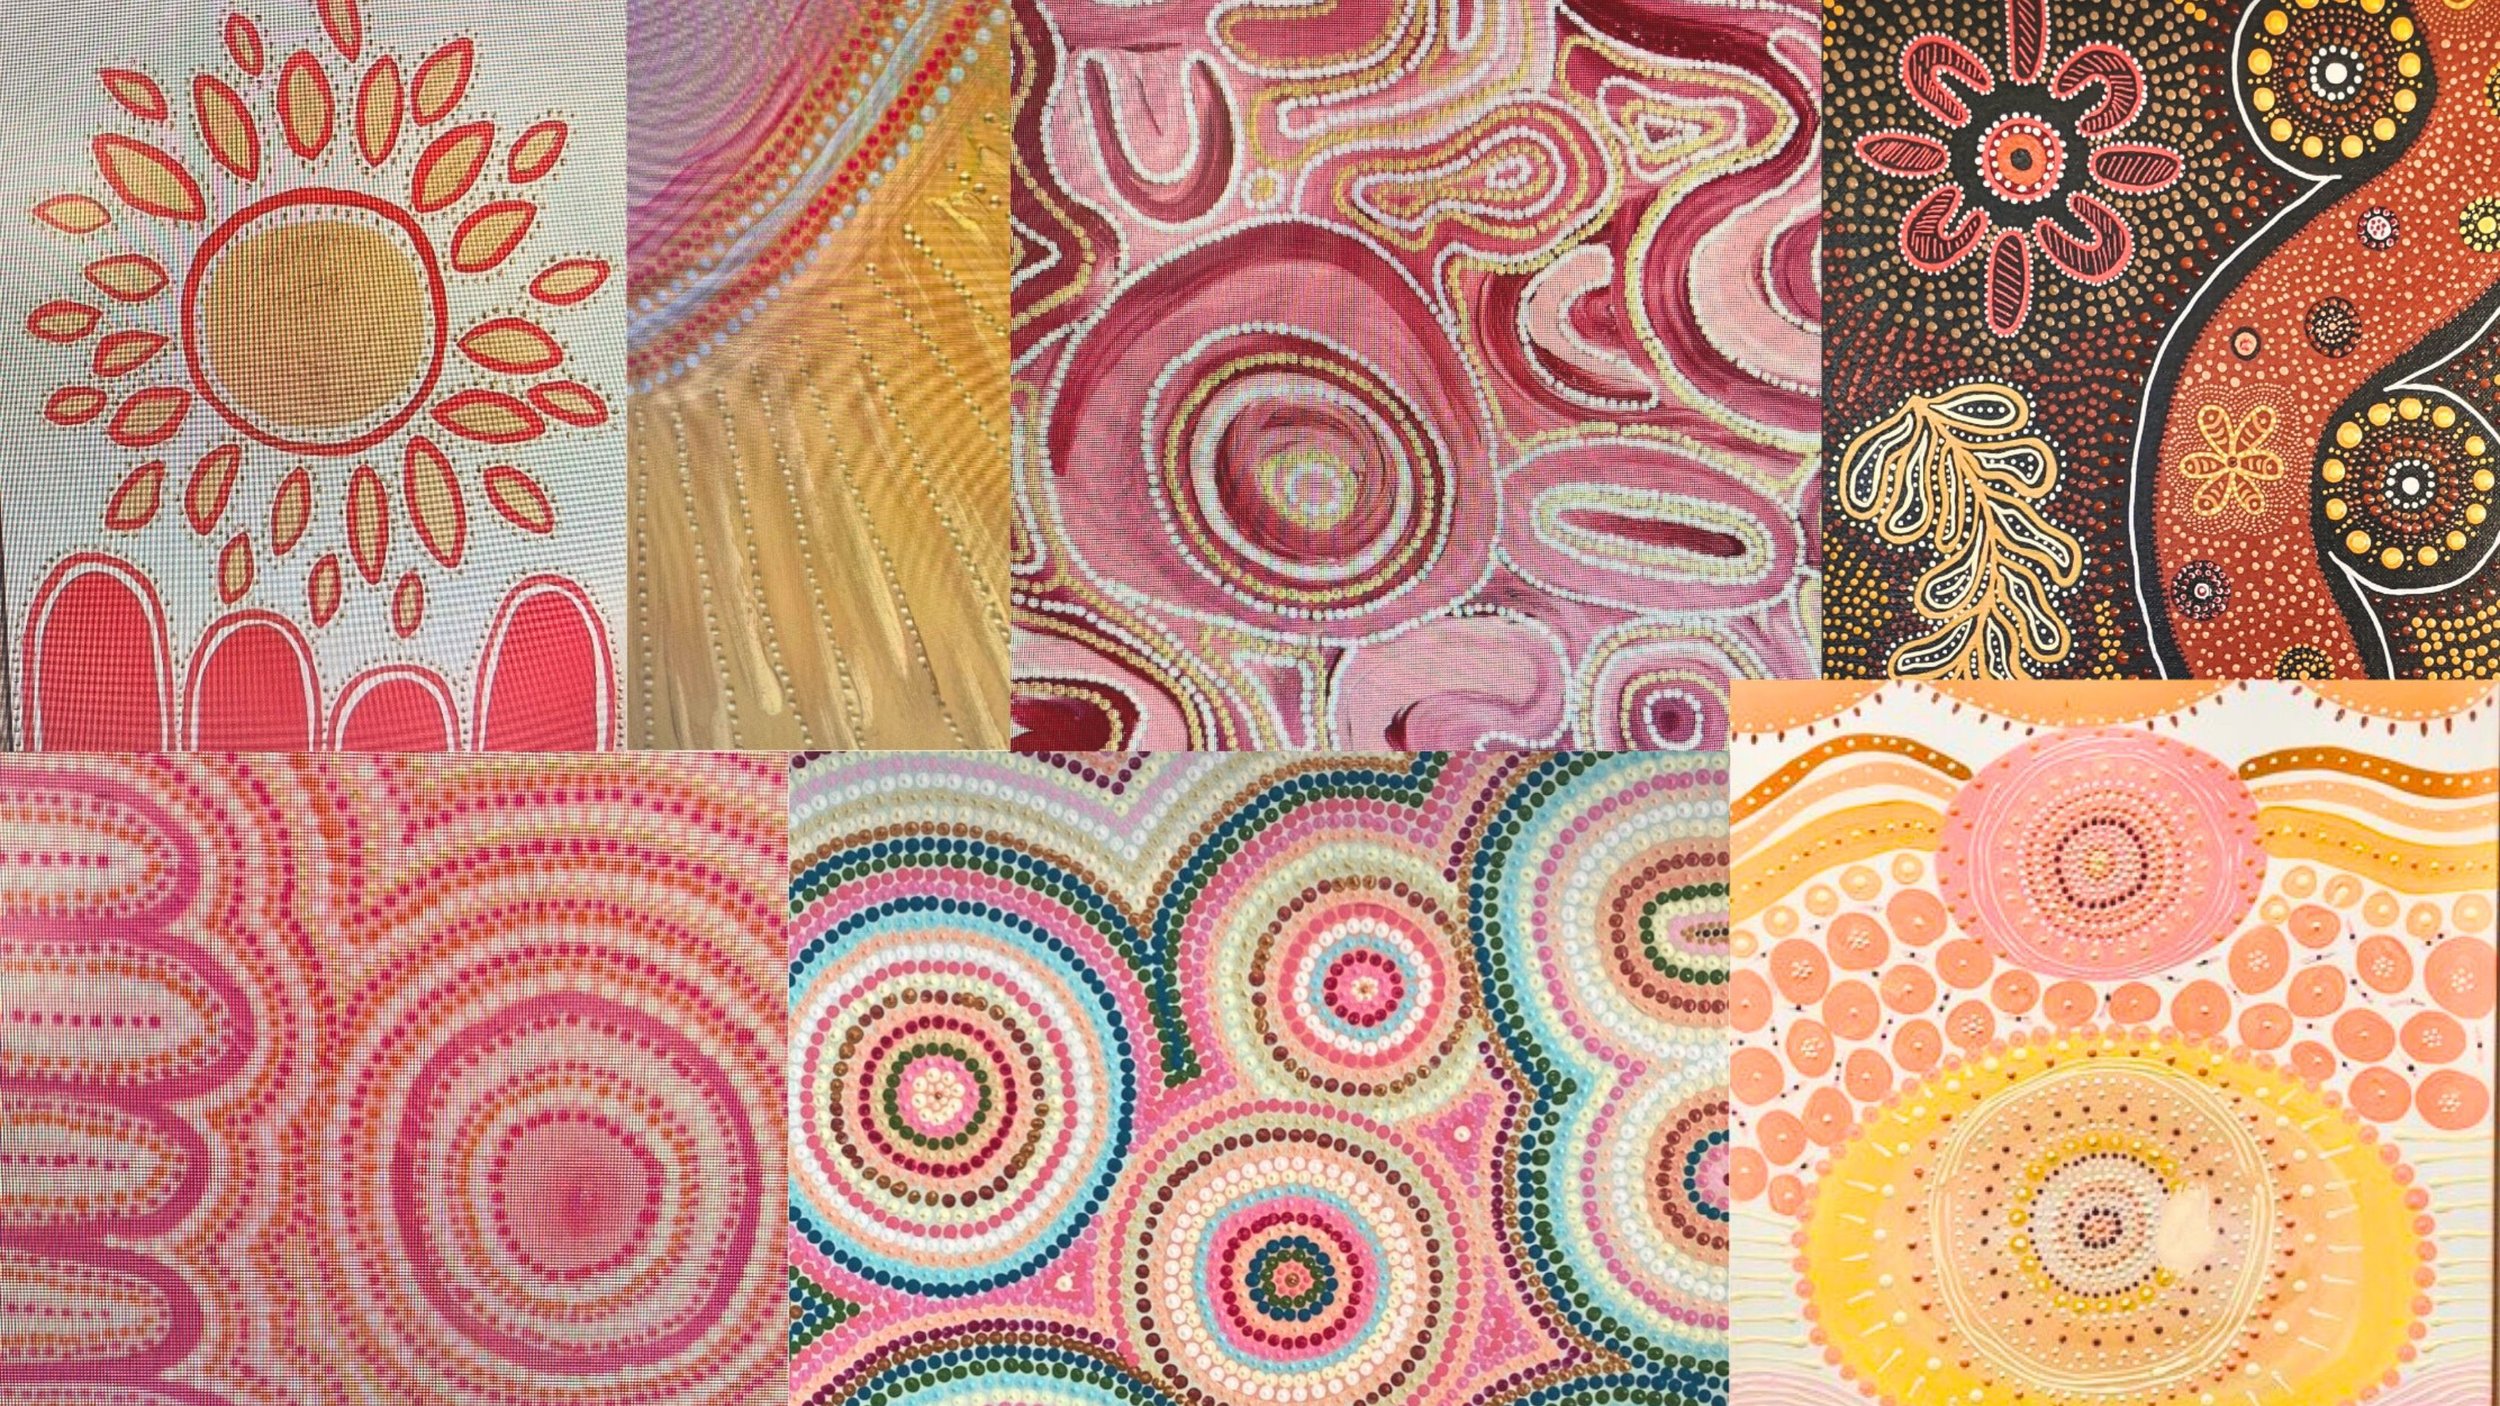
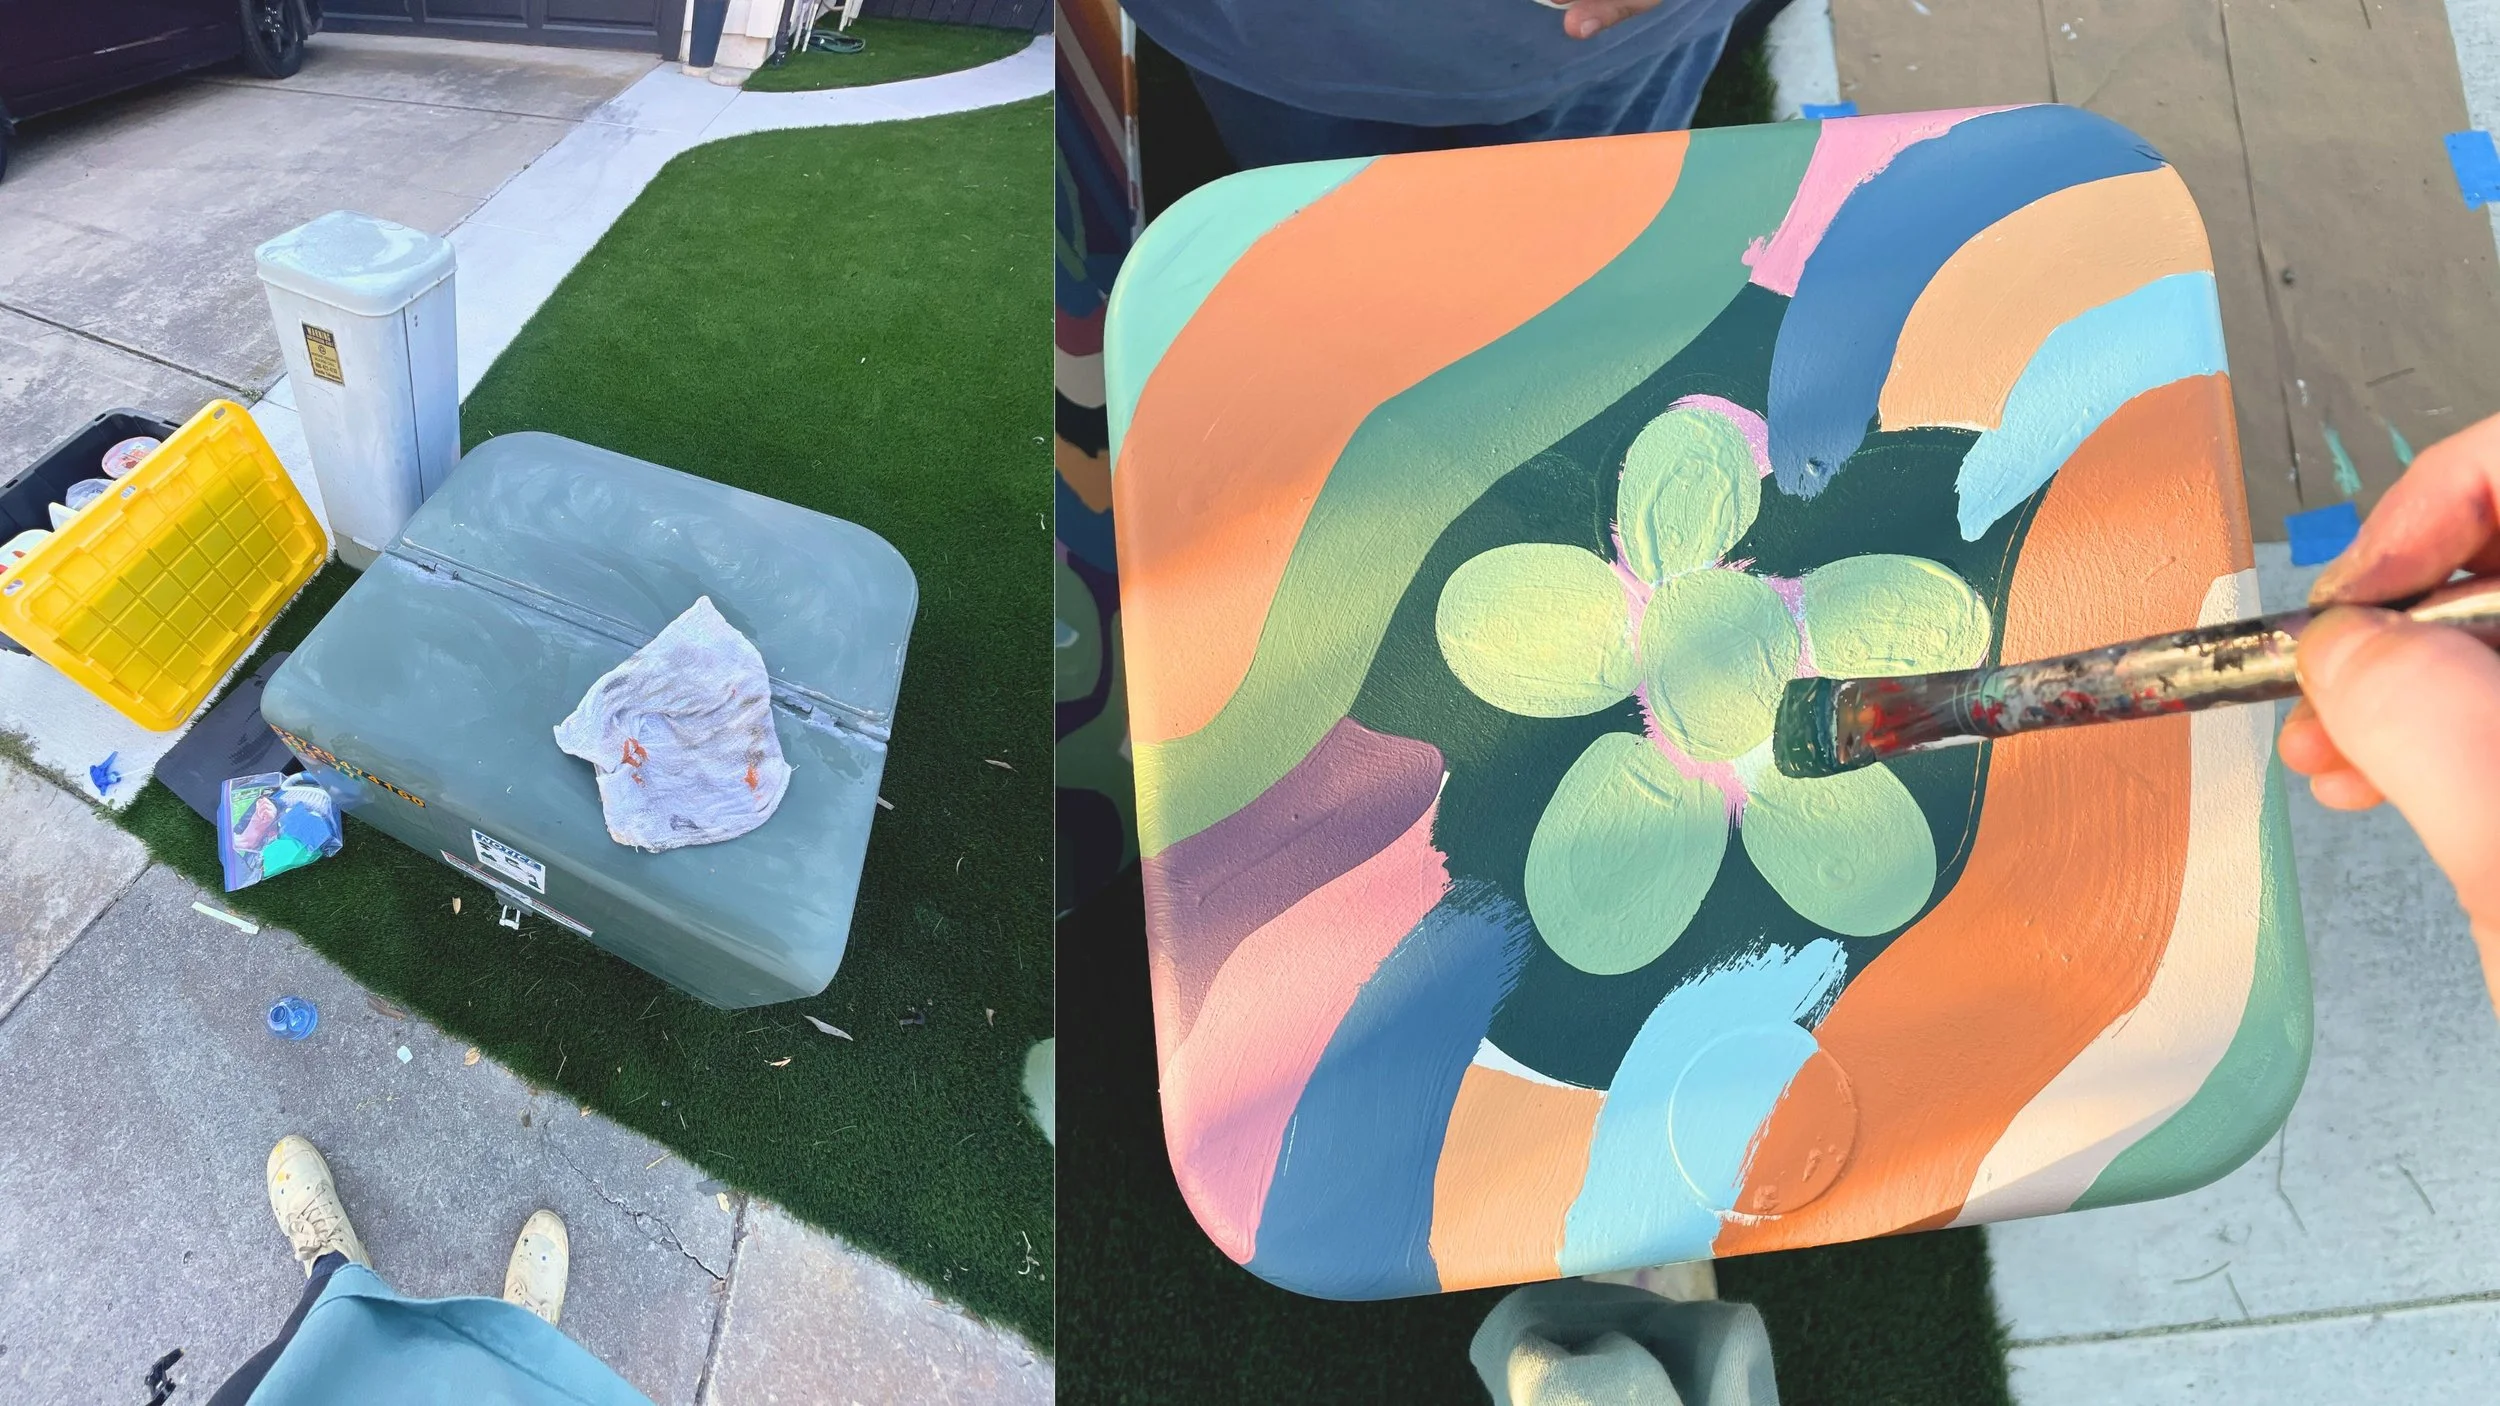
In an ideal world, I would have printed out a reference image of my design, but since I was mostly working off vibes, I kept checking my phone for color inspiration. I started with the main swirly and floral shapes, then layered in colors one at a time, painting them in batches to keep the composition balanced. It became a meditative process, but I also had to ensure no one color overwhelmed the design. By the end of day one, I had stripes covering all the boxes. The coverage wasn’t perfect, but I left myself in a good spot for day two.
Day Two: Dots, Details, and Finishing Touches
The next morning, I grabbed some caffeine, put on a good podcast, and got to work. I set a goal to finish painting by 4 PM. With that in mind, I wanted to complete the second coat of stripes by noon, knowing that once I added the dots, any imperfections I saw would become less noticeable. Eventually, I just had to call it—there’s always a point where you could keep tweaking forever, but done is better than perfect!
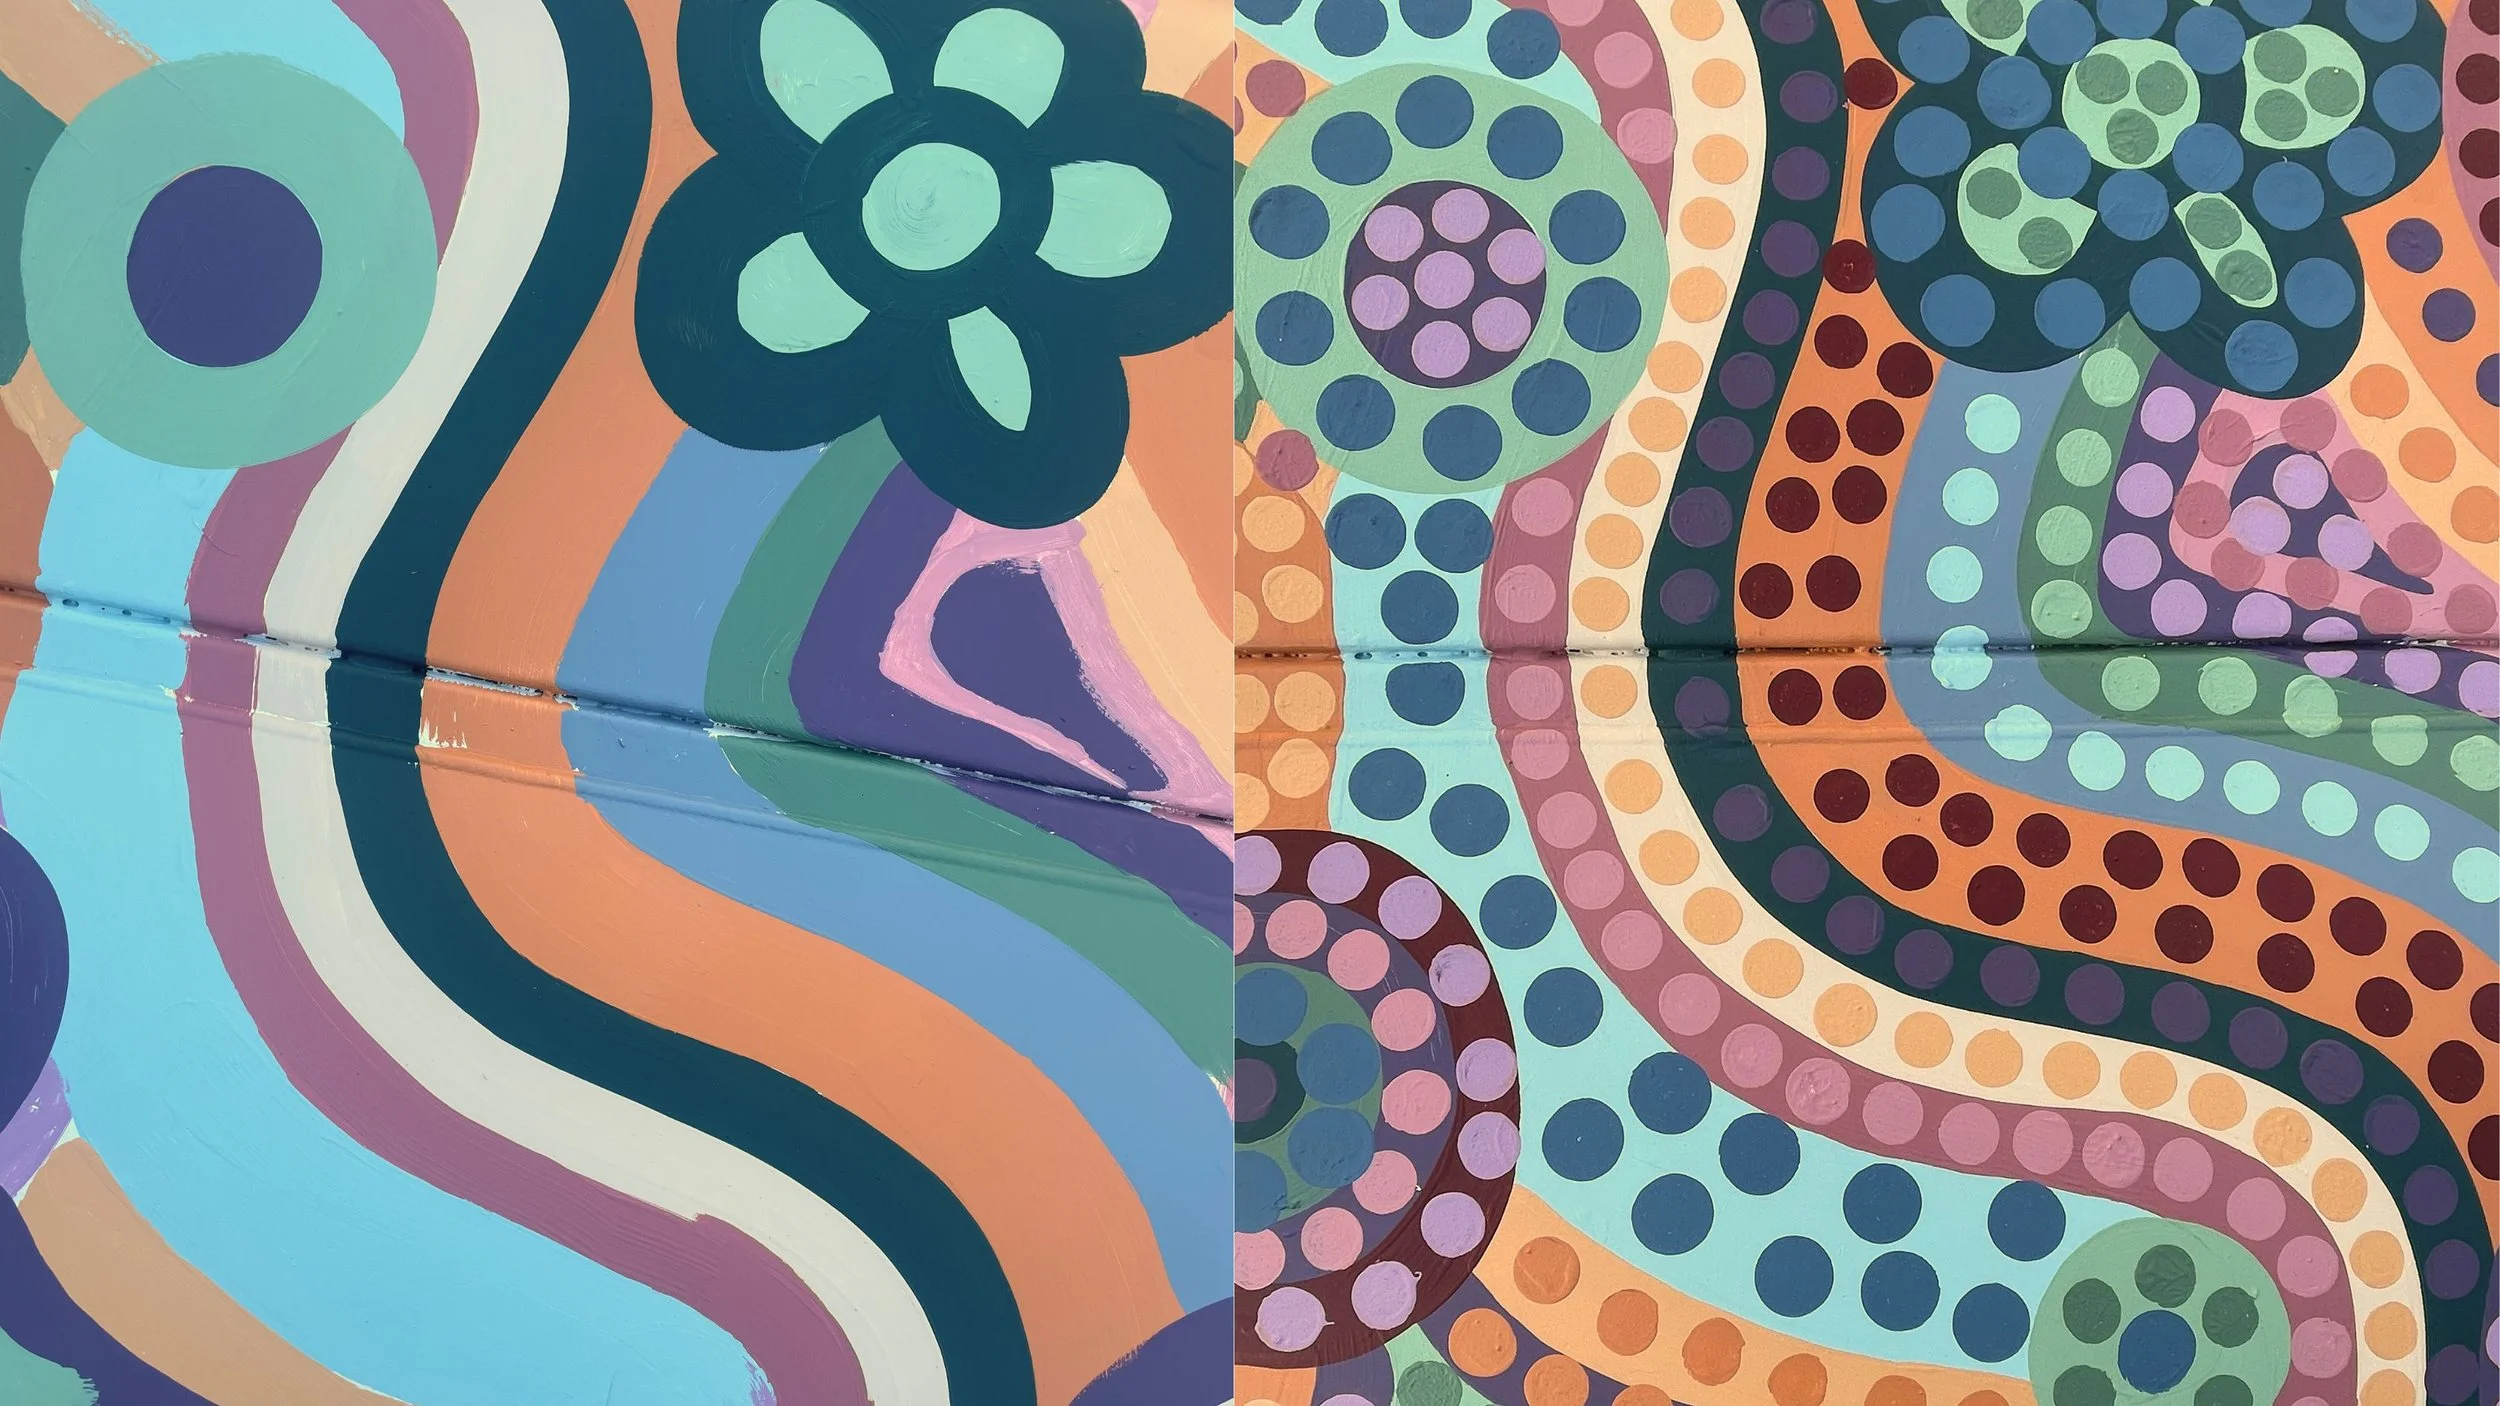
After a lunch break (and more caffeine), I tackled the dots. This part had a learning curve! At first, I pressed the dot tool straight onto the box, but I quickly realized I had to press and twist to get full coverage—otherwise, the dots came out uneven or had tiny gaps. Super technical, I know. But hey, we live and learn.
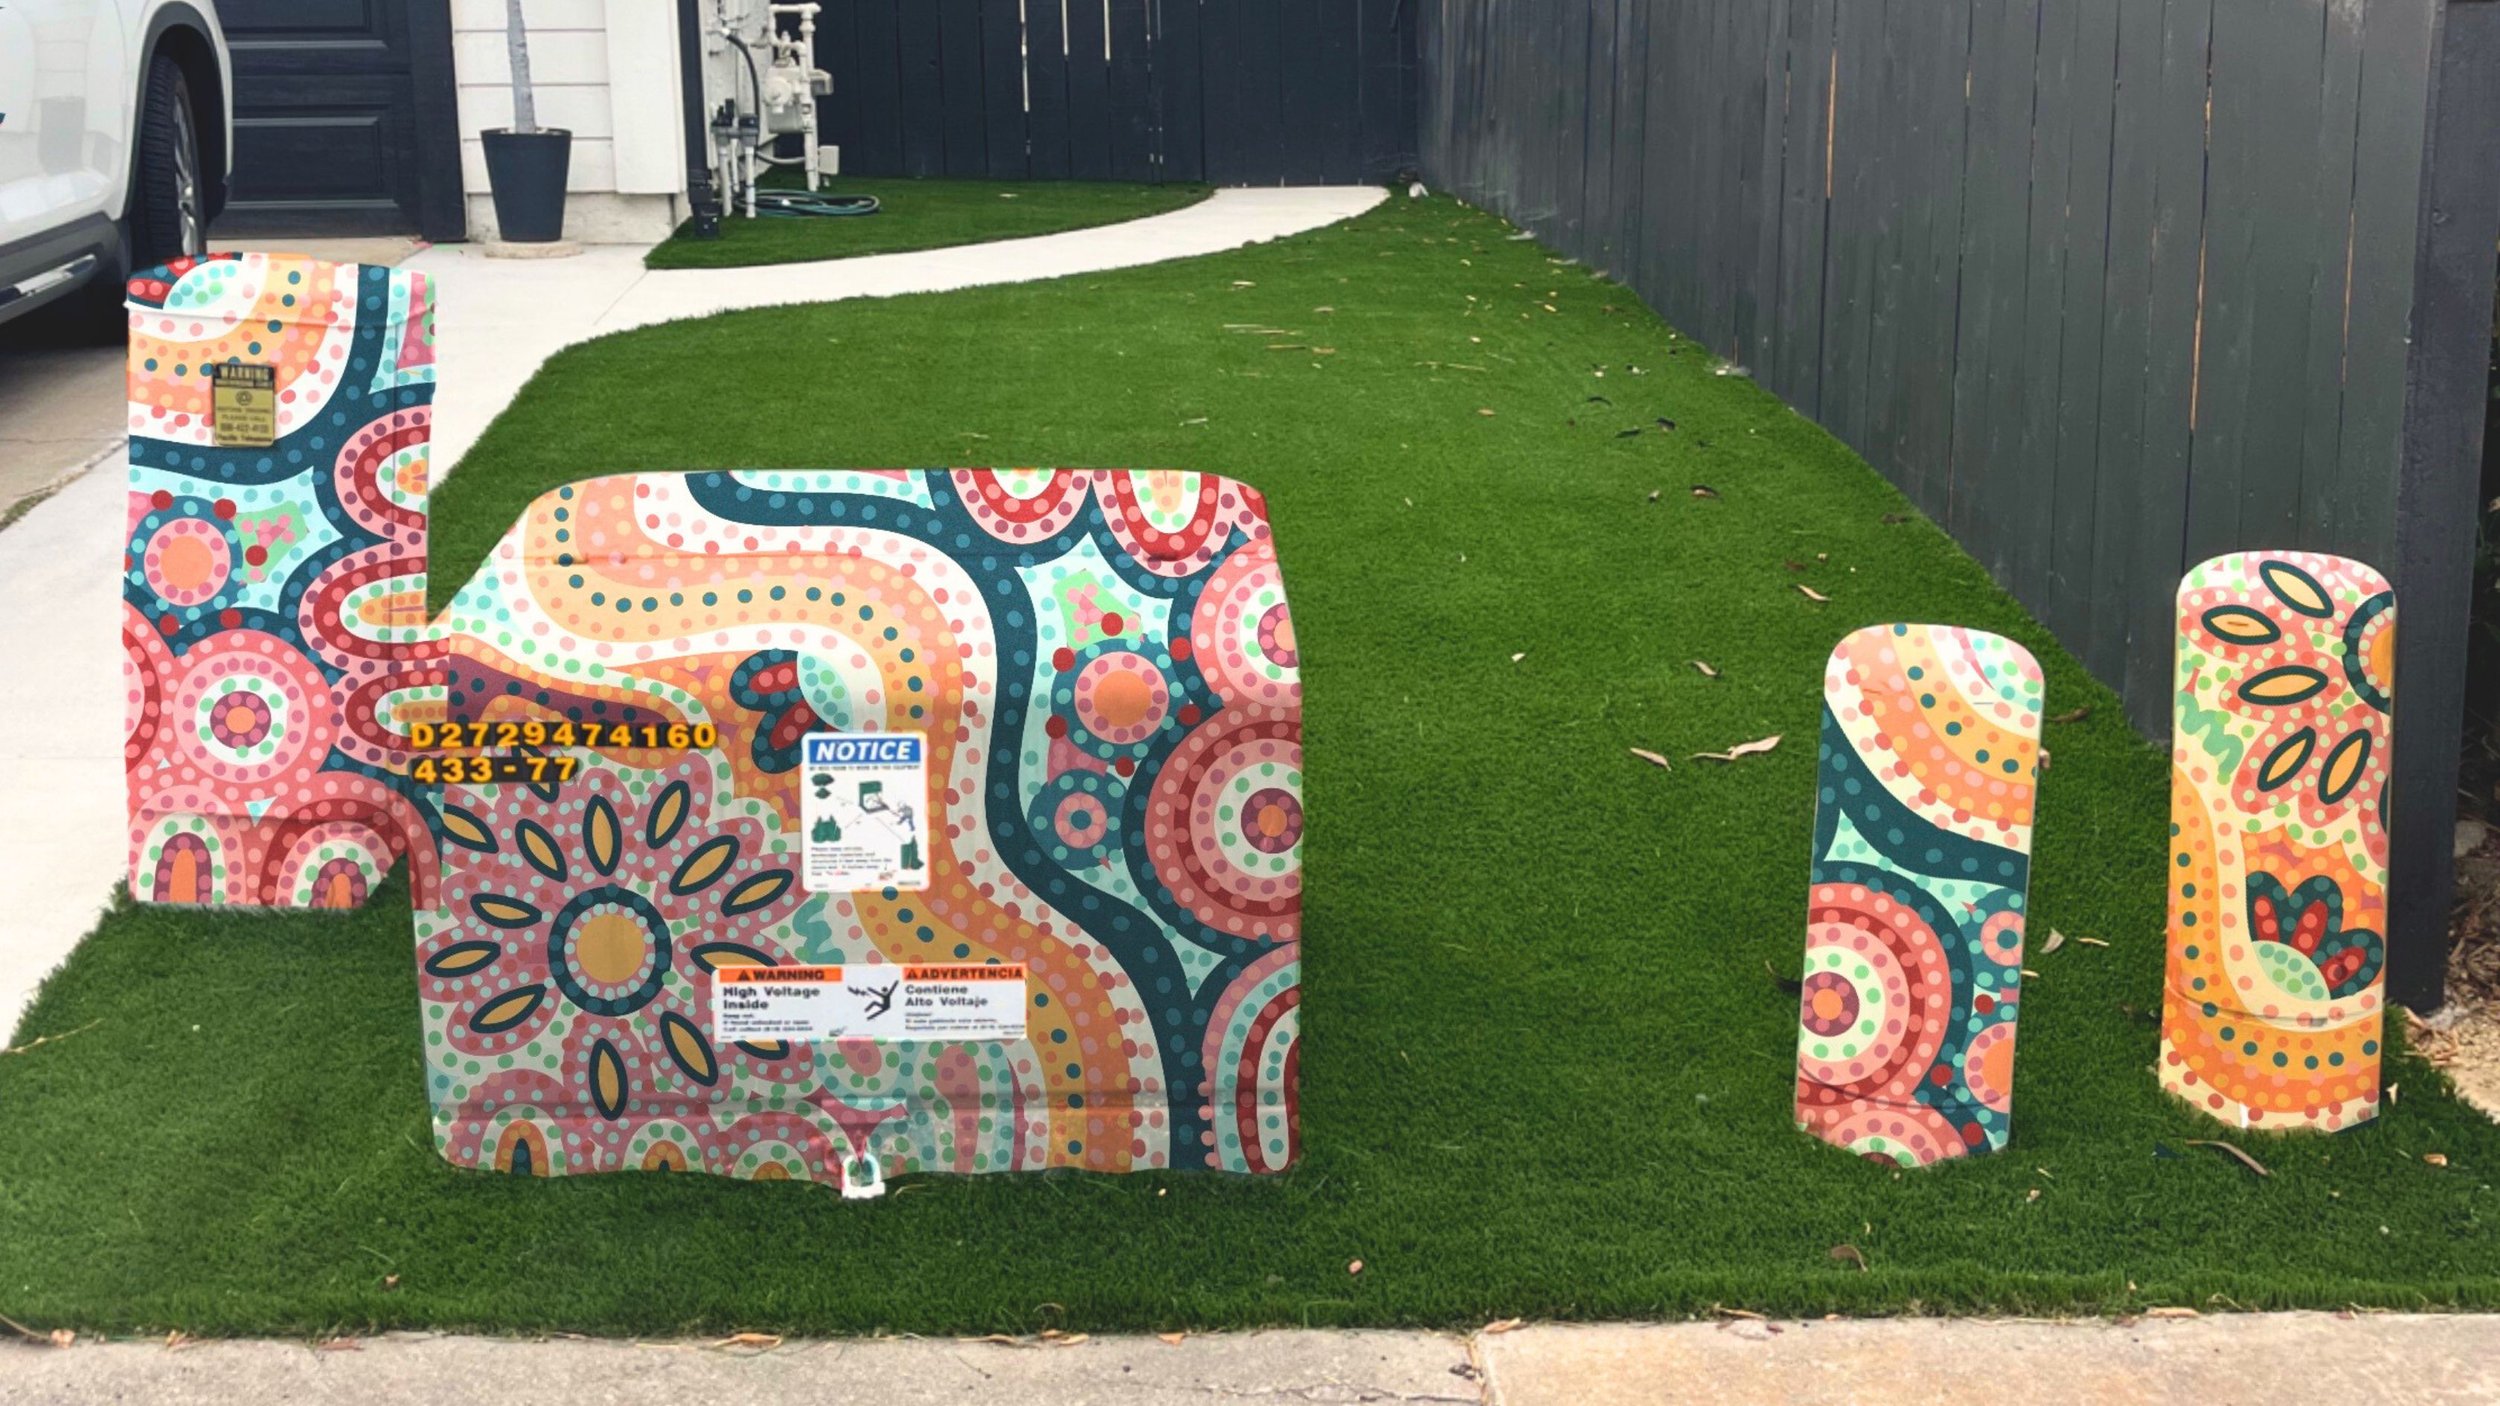
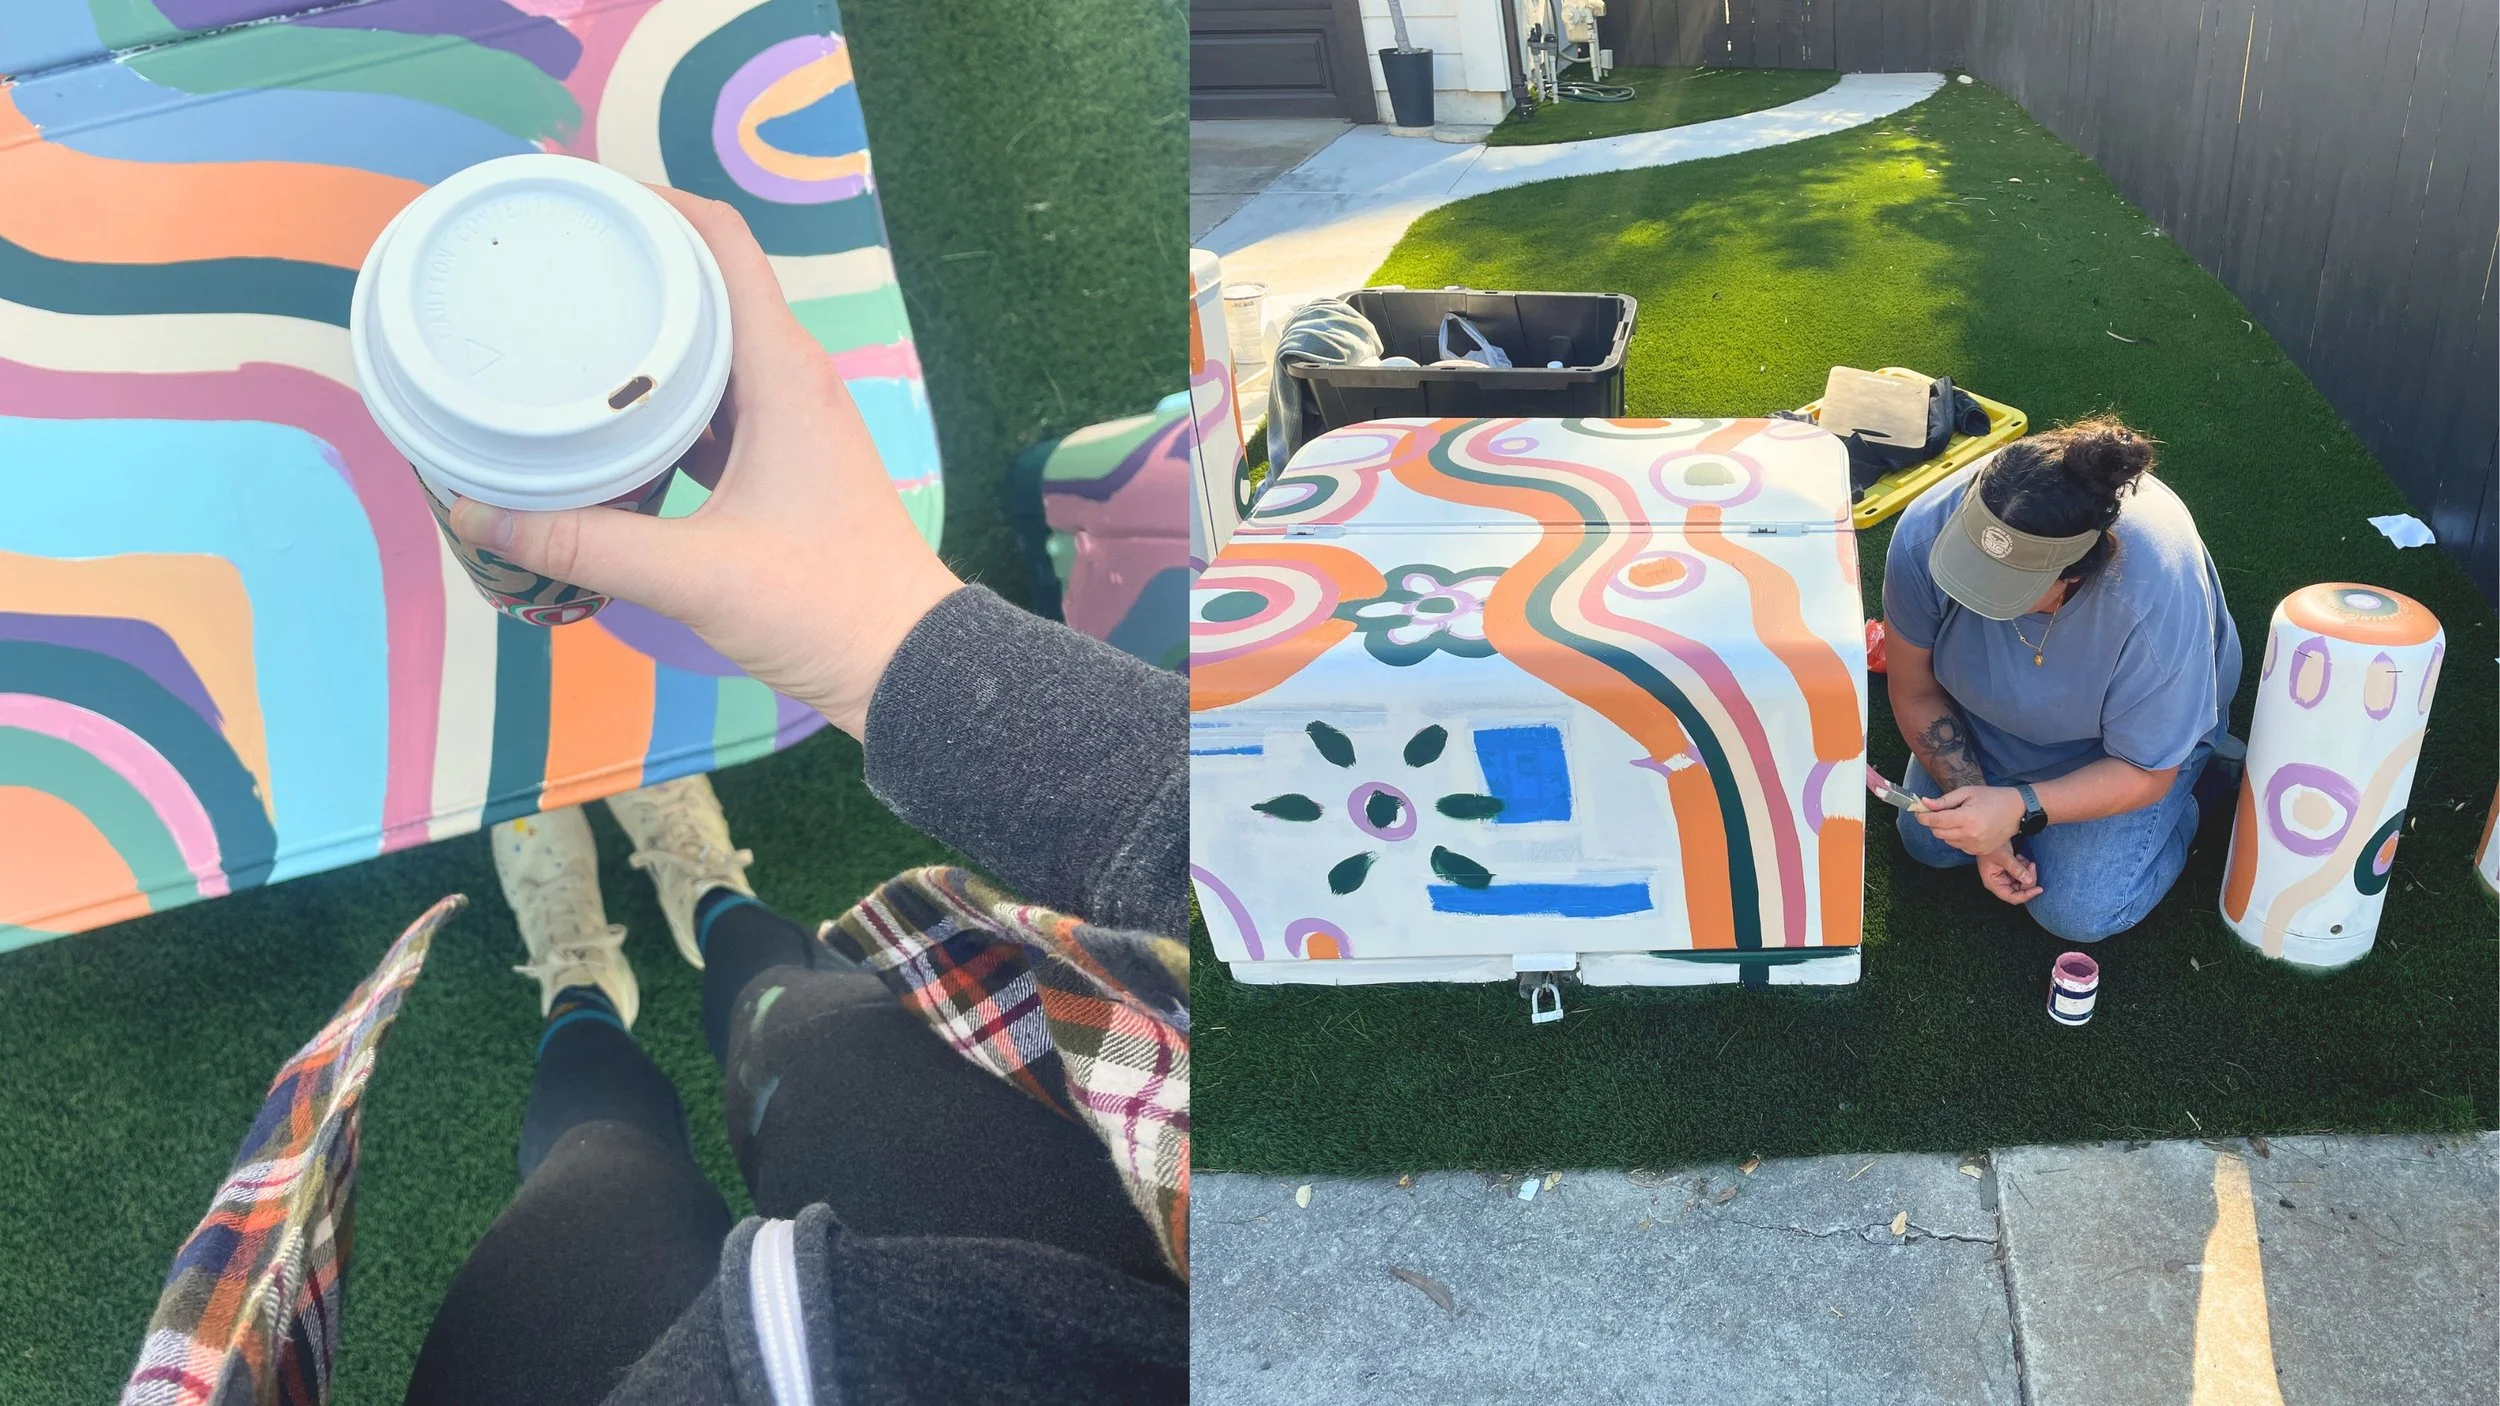
For the next few hours, I added dots all over the design. I tried to balance coordinating colors while also playing with contrast to make it feel dynamic. This was my solo day, so I just powered through as fast as I could. After about 30 minutes of drying time (I probably should’ve waited longer, but I was impatient), I sealed the boxes with two coats of varnish and a roller brush. I then took some final photos and footage and finally let the client know they were all done!

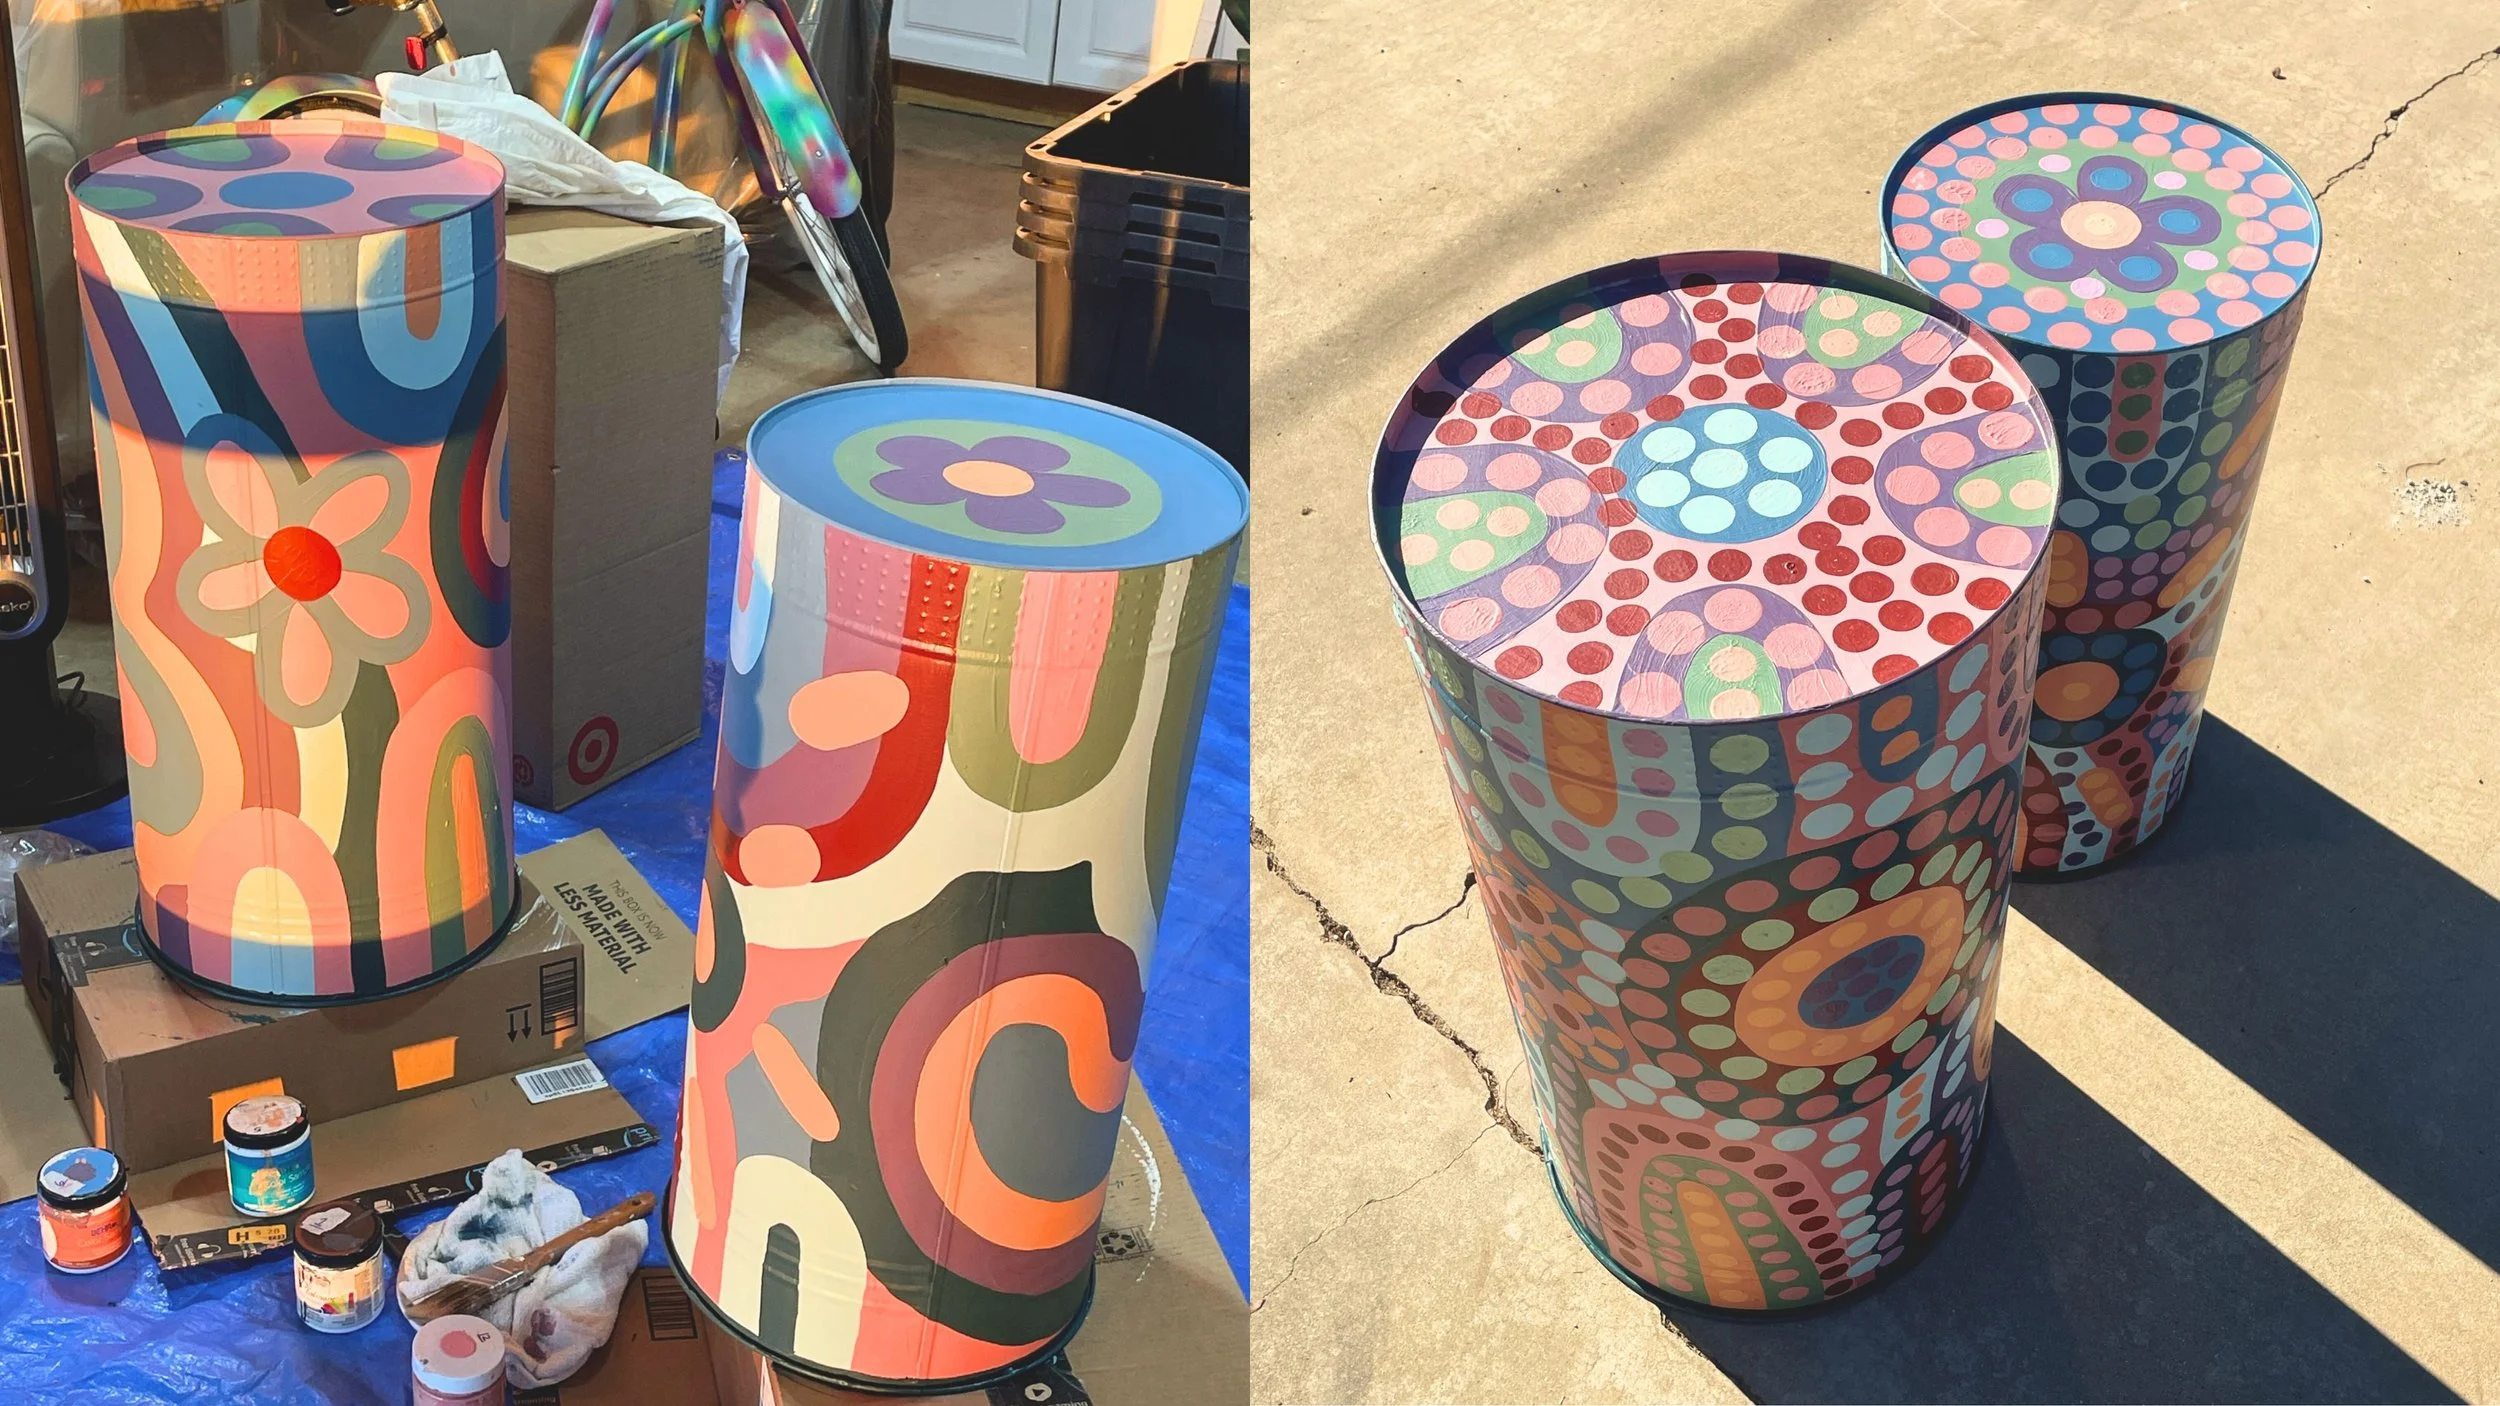
They were thrilled with the outcome, which always makes the hours of painting worth it! Like I mentioned earlier, they loved the design so much that they also gave me two aluminum cans to paint with the same pattern. Since the utility boxes were on the right side of their yard, they wanted to balance the color on the left side. I took the cans home over winter break, and—full honesty—it took me way longer than two days to finish them because I was also watching ✨Love Island✨. Priorities, you know?
Final Thoughts
This type of design was honestly out of my comfort zone, and at first, I wasn’t sure if I was the right person for the job. But I believe I found a happy medium between my style and what the client envisioned. I’m so glad I took on this project—it pushed me creatively and allows me to show more diversity within my work.
If you’re looking to add color to your space, I’m open for commissions! Or, if you’re interested in painting a utility box at your home or for your community, click here!